
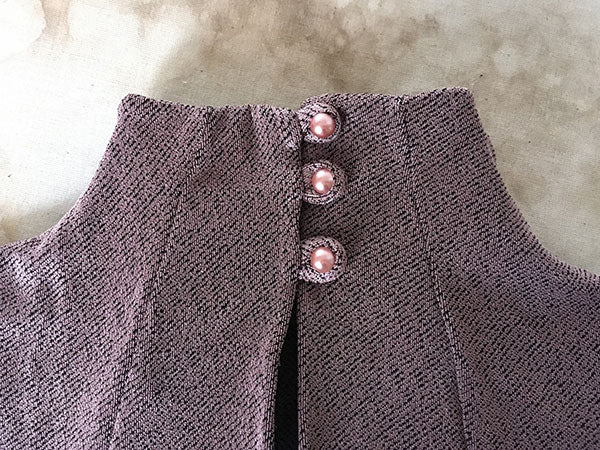
Button loops, also know as rouleau loops, add such a beautiful finishing touch to a garment. The loops aren't hard to make, but if you've never done it before you might be scratching your head. Turning a very narrow piece of fabric right side out can seem tricky!
The Jackie pattern in our collection uses three of these loops at the back neckline. In this pattern, the loops are made of knit fabric; however, you may use this method for woven fabric. Also, if you are making a garment in knit and find that the fabric you've chosen is too dense for a loop, you can always opt to make a woven loop with your knit garment. I'd suggest something light, such as a lining.
In this tutorial, I'll walk you through the steps of how to make these lovely loops. Let's get started!
Tools:
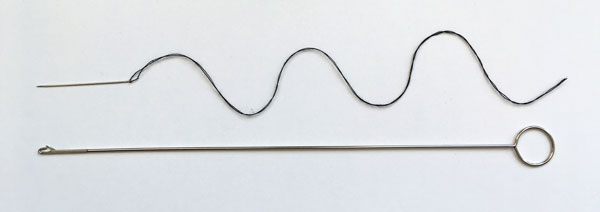
- A loop turner is an ideal tool for this operation.
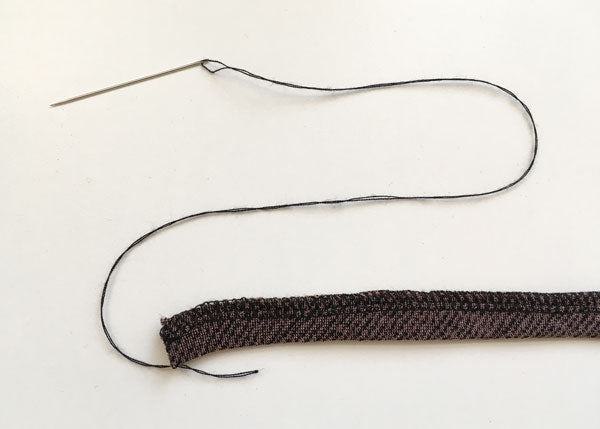
- If you don't have a loop turner, no sweat. You can simply use a large sewing needle with strong thread.
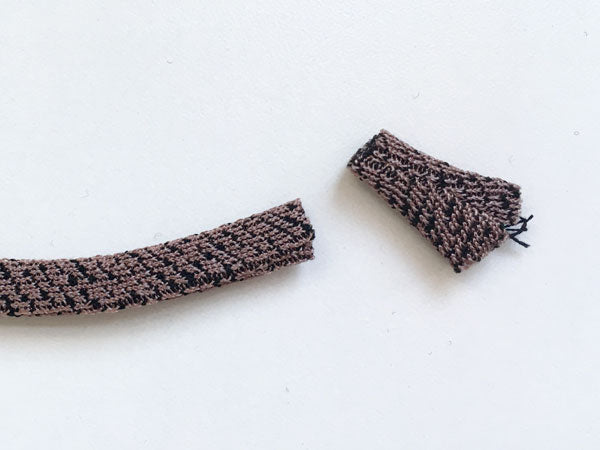
Note: The Jackie pattern comes with a loop pattern piece that is 1" x 7" (2.5 cm x 17.8 cm) and has a 1/4" (6 mm) seam allowance. If you are making your loops for another project, the length will be determined by how many loops you need.
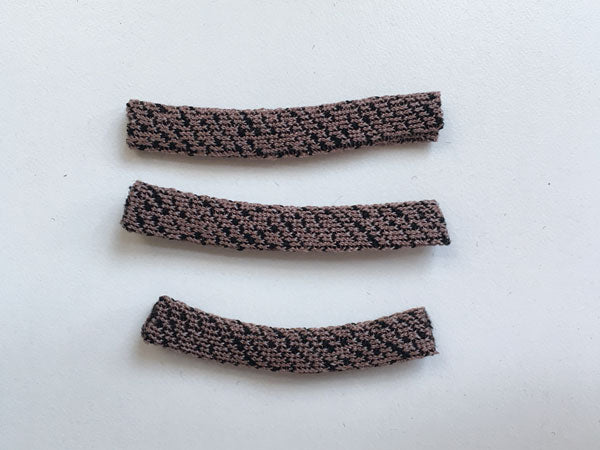
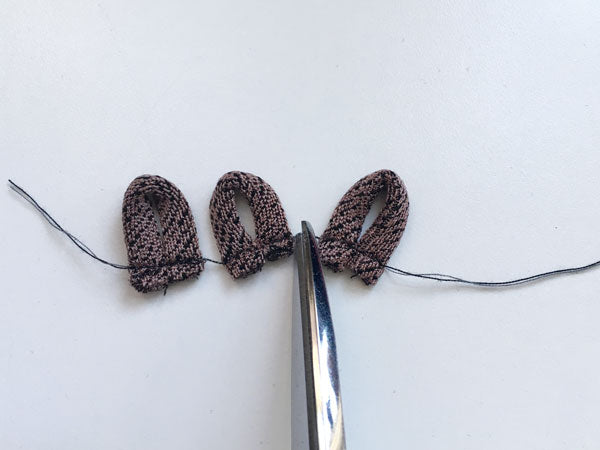
For a loop that has 1/4" (6 mm) seam allowance on either end, and that will fit a 3/8” (1 cm) button, I allow for each loop length to be 2" (5 cm) long. Therefore for three button loops, you will need a 6" (15.3 cm) length. I also add an extra 1" (2.5 cm) to the piece's length so that I can trim off the ends if they turn out sloppy during sewing or in the process of turning the loop.
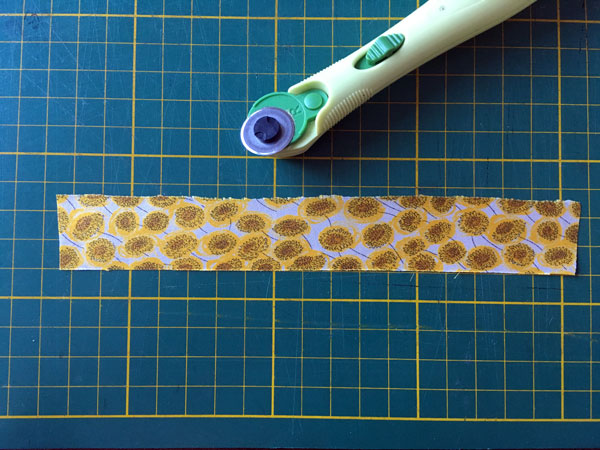
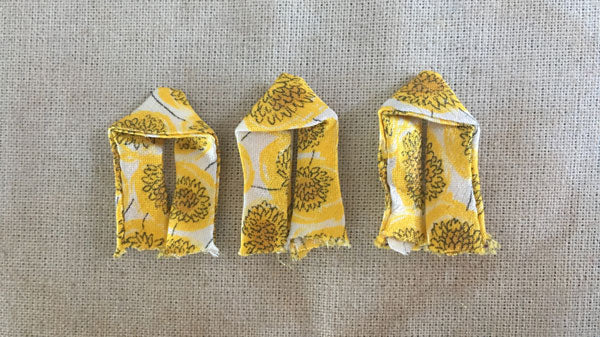
If you decide to make woven button loops, you can use the Button Loop pattern piece to cut out your fabric on a bias grainline. Bias will allow your loop to curve nicely around your button.
For these instructions, I’ll be using knit fabric, but the steps are the same with woven. I’ll show you my woven loops at the end.
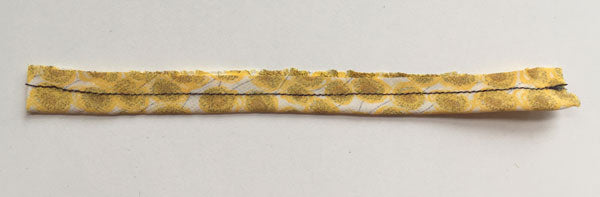
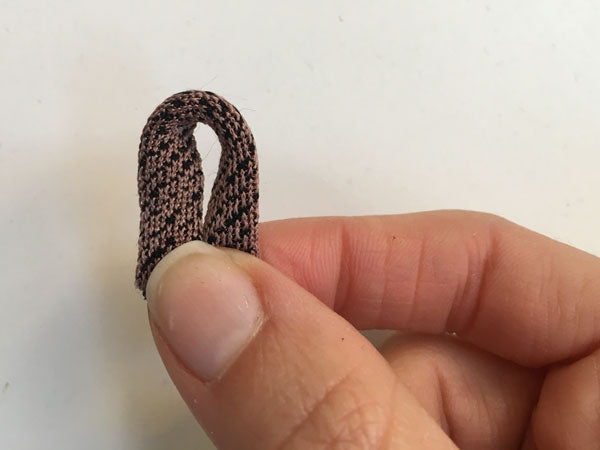
Step 1: Sew the loop piece
Pin the loop piece widthwise, with right sides together.
For knit loops, use a serger or a stretch stitch on a regular sewing machine. If you are using a serger, leave a tail of thread at the beginning. When you reach the end, don't worry if you swerve off before you reach the edge to save your little fingers.
For the woven fabric, use a straight stitch machine and sew the loop at 1/4" seam allowance.
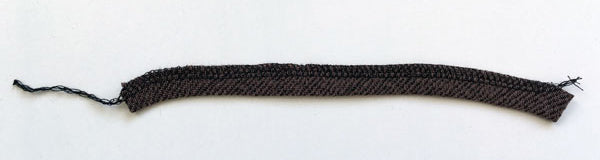
Knit
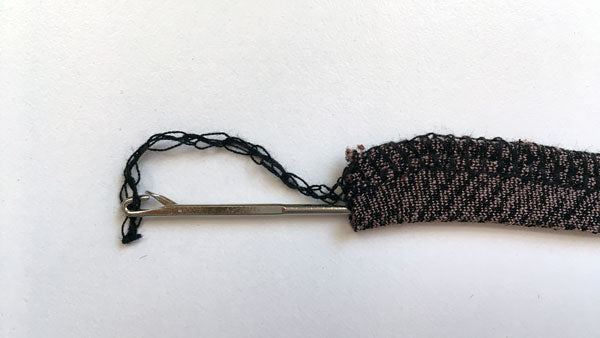
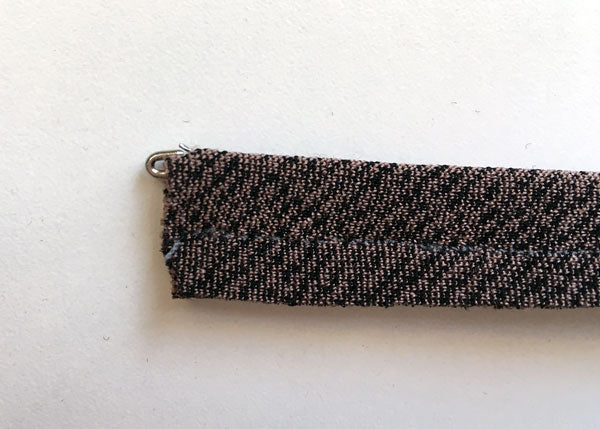
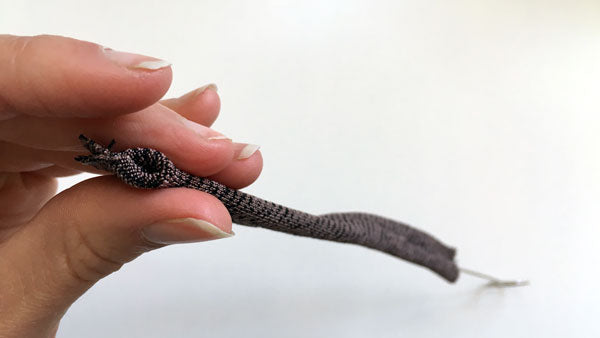
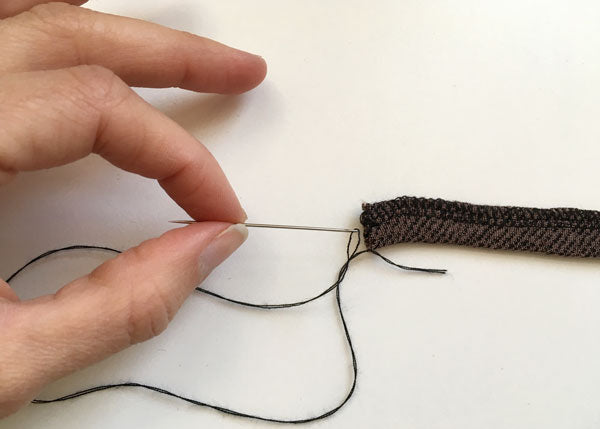
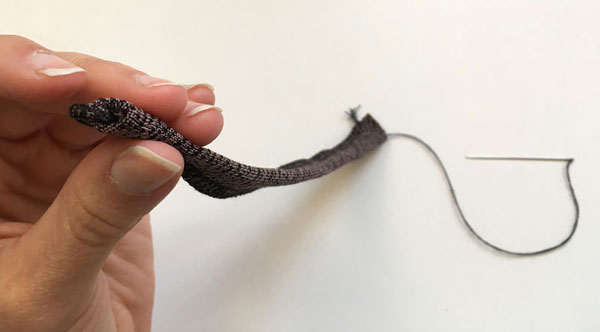
Step 2: Turn out the loop
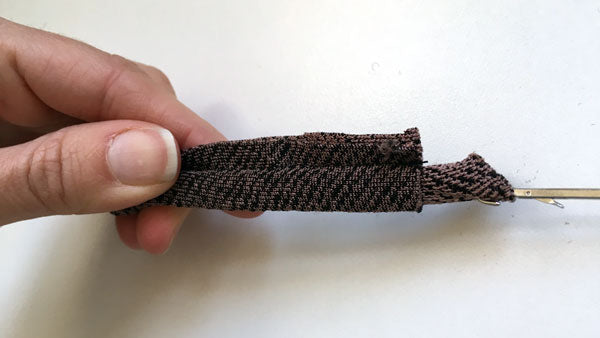
First, let’s try the loop turner.
Insert the turning tool into the loop tunnel. If you have serged the loop piece, you can grab hold of the serger threads.
Otherwise, grab hold of the fabric by inserting the latch through the weave of the fabric.


Leave a comment