The Smocked Honeycomb Skirt Tutorial

I'm sorry to say, but I'm no knitter. However, I always wish that I had a project I could take with me on the go. This is one of those transport friendly projects if the size of fabric isn't enormous. The technique is called direct smocking, and you can apply it to home decor, clothing or accessories.
It's a combination of pulled and slack stitches that form a pattern of pleats in the fabric. You can create all sorts of pleated patterns depending on the stitch sequence. This one is called the honeycomb stitch. I'm going to show you how to make a quick and easy skirt, but you can take this technique and go crazy making all kinds of things. Next on my list is a scarf and some linen cushions. The pleat takes up fabric in a width-wise direction, making the fabric ratio 2:1, which means that if you want the finished piece to be 10", you need to double it and make it 20". It's straightforward, relaxing and fun to do. This would be a good gift idea for Christmas, or you can be selfish and keep it to yourself!
Materials:
- Construction paper
- Ruler
- Awl, or something that will poke holes through the paper
- Fabric marker or chalk
- Needle
- Thread (I used embroidery thread for the smocking so that it was more visible)
- Fabric (Amount depends on your measurements)
- 8" zipper
- Decide how long you want your skirt to be. Add 1" hem allowance. (I finished the waistline with a rolled hem on the serger, so did not add seam allowance to the waist. If you don't have a serger, add 1.5" seam allowance to the waistline.)
Example: Skirt length = 19" + 1" hem allowance (+1.5" optional waistline allowance) = 20"- 21.5"
_____________________________________________________________________________________________
1. Measure yourself at the natural waist and add 1" to this measurement for seam allowance on either side.
Cut two rectangles of fabric by these dimensions.
____________________________________________________________________________________________
2. Finish raw edges with a serger or zig- zag stitch. (If serging a rolled hem at the waist, do not sew along waistline. _____________________________________________________________________________________________
3. Place pieces right sides together, pinning along the side seams. Sew both side seams at 1/2", leaving
an 8" opening at the top of one seam for the zipper opening. Press seam allowance open.
_____________________________________________________________________________________________4. Finish waistline: Serge a rolled hem along the waistline or fold waistline towards the wrong side of fabric by 1 1/2" and sew at 1 1/4" seam allowance.
_____________________________________________________________________________________________
5. Create a 1" grid on the construction paper. Poke a hole through each line intersection (The number of rows on your grid will depend on how many rows of smocking you want)

6. Match the grid to the waistline and transfer dots to the right side of the fabric.
_______________________________________________________________________________________________
7. With a needle and thread, begin stitching along the length of the waistline, one row at a time. Take up the first dot (#1) along the first row, then move to the second dot (#2) next to it in the same row.


8. Pull these two dots together, forming a pleat. Tack the dots together a few times to strengthen the stitch.
_______________________________________________________________________________________________

9. Insert the needle into the fabric, and move to the dot in the second row directly below dot #2. Allow the stitch underneath the fabric to be slack and exit at this dot.
_______________________________________________________________________________________________


10. Take up the next dot beside it, pulling the two together to form another pleat. Tack dots together, insert needle into fabric and exit again at the dot directly above, in the first row of dots. Continue stitching until the row is complete.
_______________________________________________________________________________________________

_______________________________________________________________________________________________

This little diagram will clarify the stitches. The straight line between the dots represent pulled stitches and the squiggly lines are slack stitches.
_______________________________________________________________________________________________
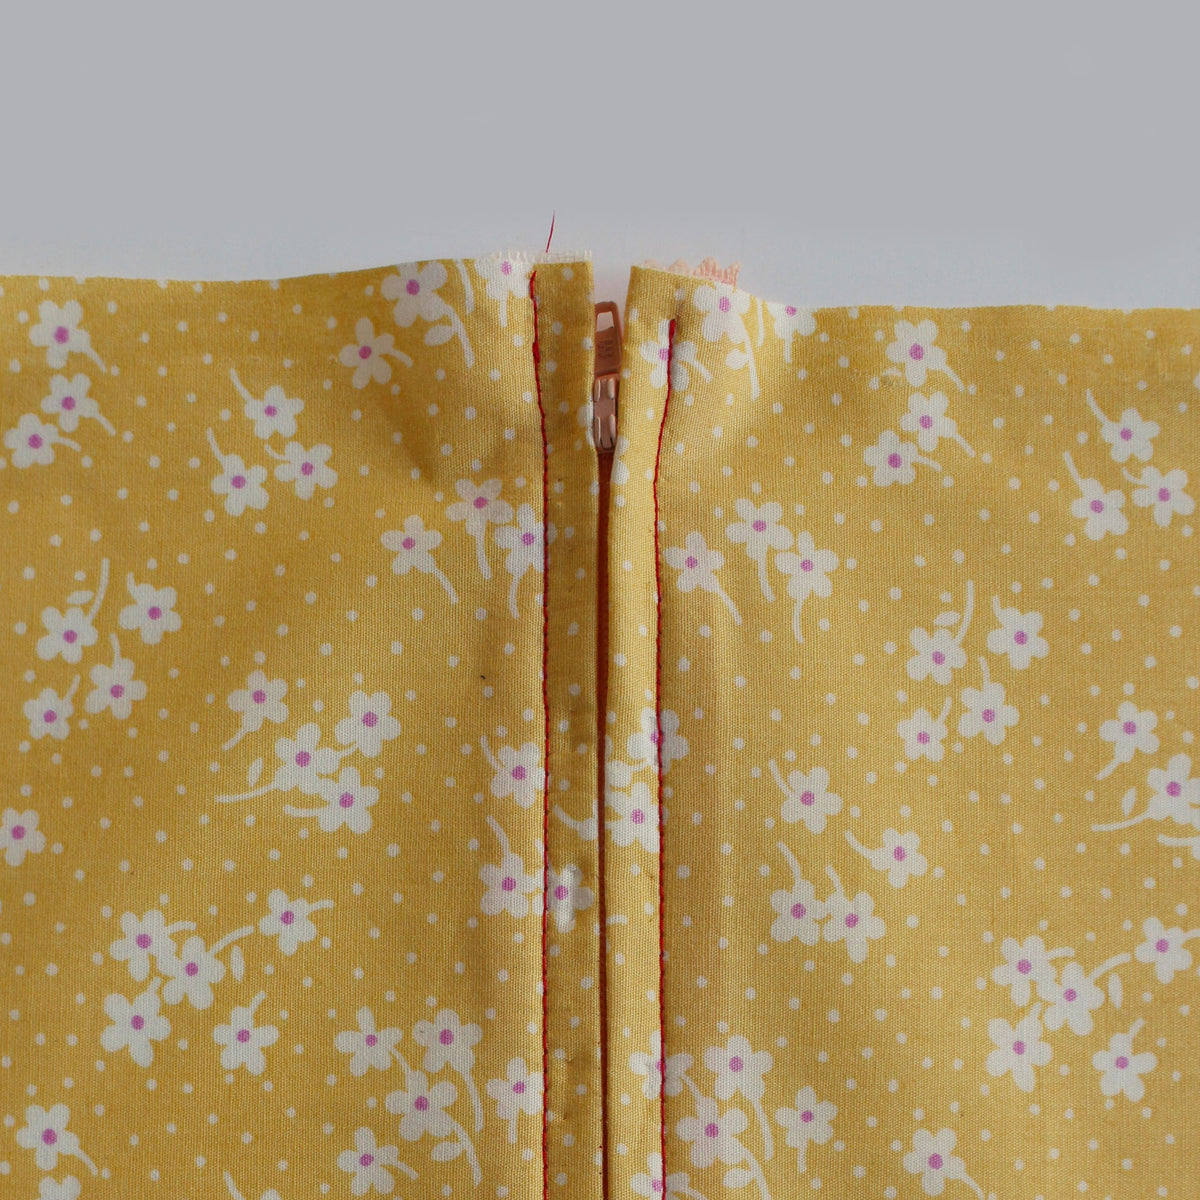
11. Sew the zipper into the side seam opening. (I do this step last last in case there's any fit adjustments after the skirt is smocked).
12. Hem the skirt. Press raw edge in by 1/2", and again at 1/2". Sew at 3/8" seam allowance.
13. Lightly steam the pleats and press your new skirt!

DONE!
YOU MAY LIKE:
Leave a comment
Comments will be approved before showing up.
Also in The Victory Patterns Blog

Pair the Sofia Bell Sleeve Strap with any sleeve option

How to sew a centered zipper
A centered zipper is one of the most usefull zippers to be able to sew. They are commonly used in skirts, dresses, and pants, as well as cushion covers and handbags. In this tutorial, we'll show you how to sew a centered zipper using directional sewing, which avoids the fabric from shifting in different directions once the zipper is sewn in.


