A centered zipper is one of the most usefull zippers to be able to sew. They are commonly used in skirts, dresses, and pants, as well as cushion covers and handbags. In this tutorial, we'll show you how to sew a centered zipper using directional sewing, which avoids the fabric from shifting in different directions once the zipper is sewn in.
Having pockets make any garment SO much more enjoyable to wear. There's really no reason why you should have to go without them because side seam pockets are a really easy addition to a garment, even if the pattern doesn't call for a pocket. While this tutorial is part of the Sofia sew-along series, you can follow these steps if you're looking to add a pocket to just about anything. Let's dive right in.
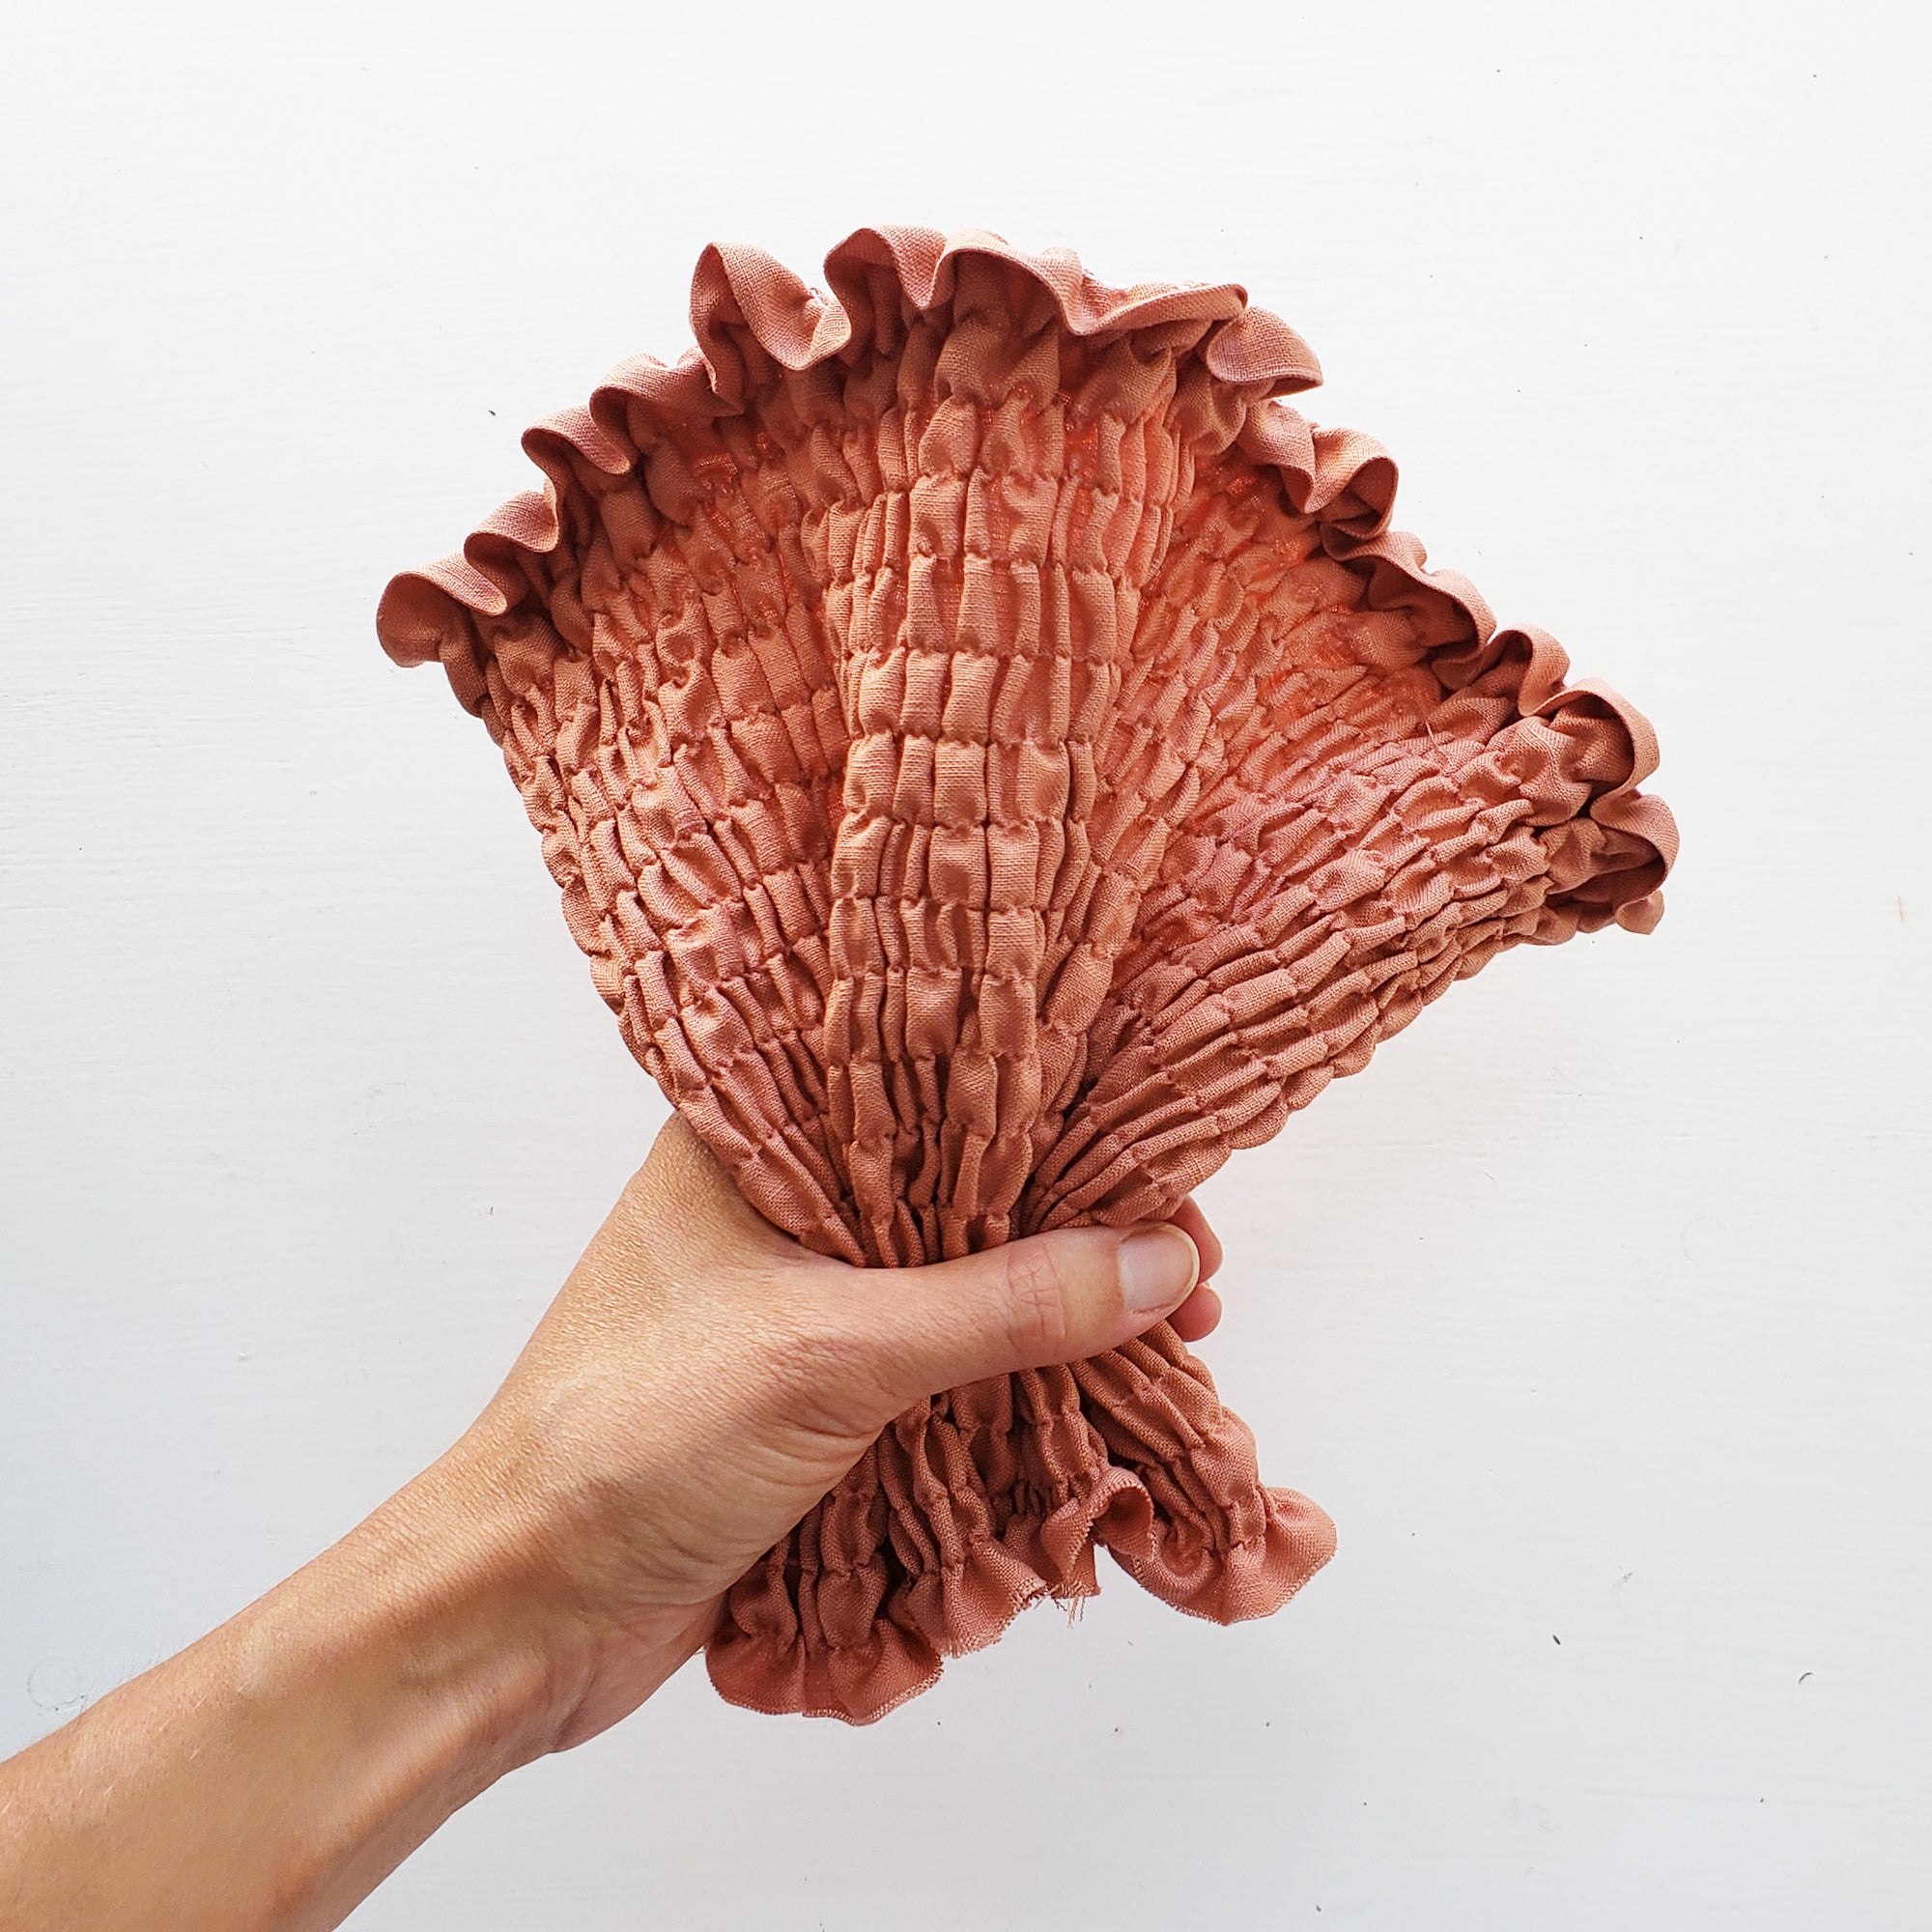
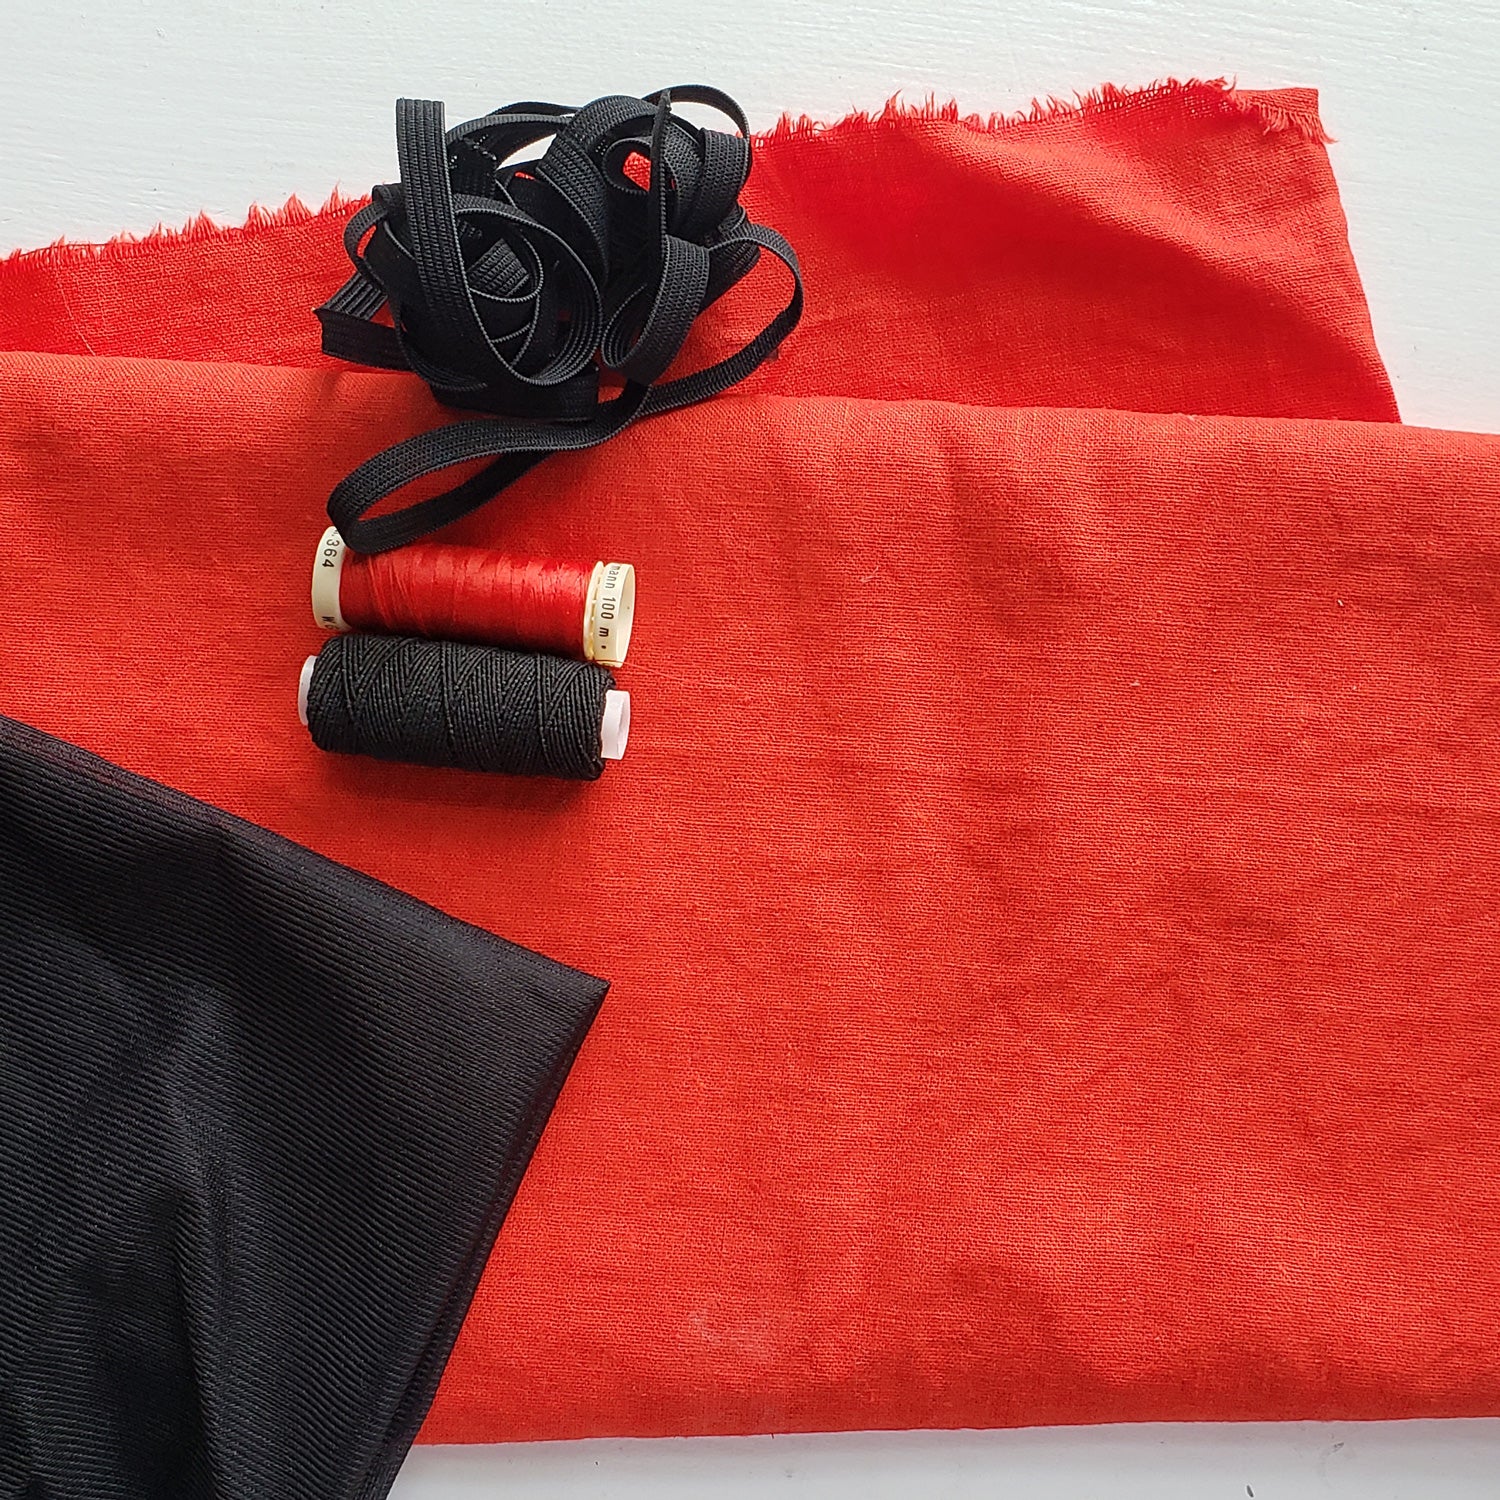
In this post, we'll sew the bodice shirring for Sofia. We'll discuss how to set up the machine for sewing with elastic thread, how to test and troubleshoot if you run into issues with shirring, and finally, we'll go through each step of shirring the bodice or top.
In this post, we'll go over all the supplies, tools and notions needed for the project. We'll also make a cut list for each of the versions for this pattern.
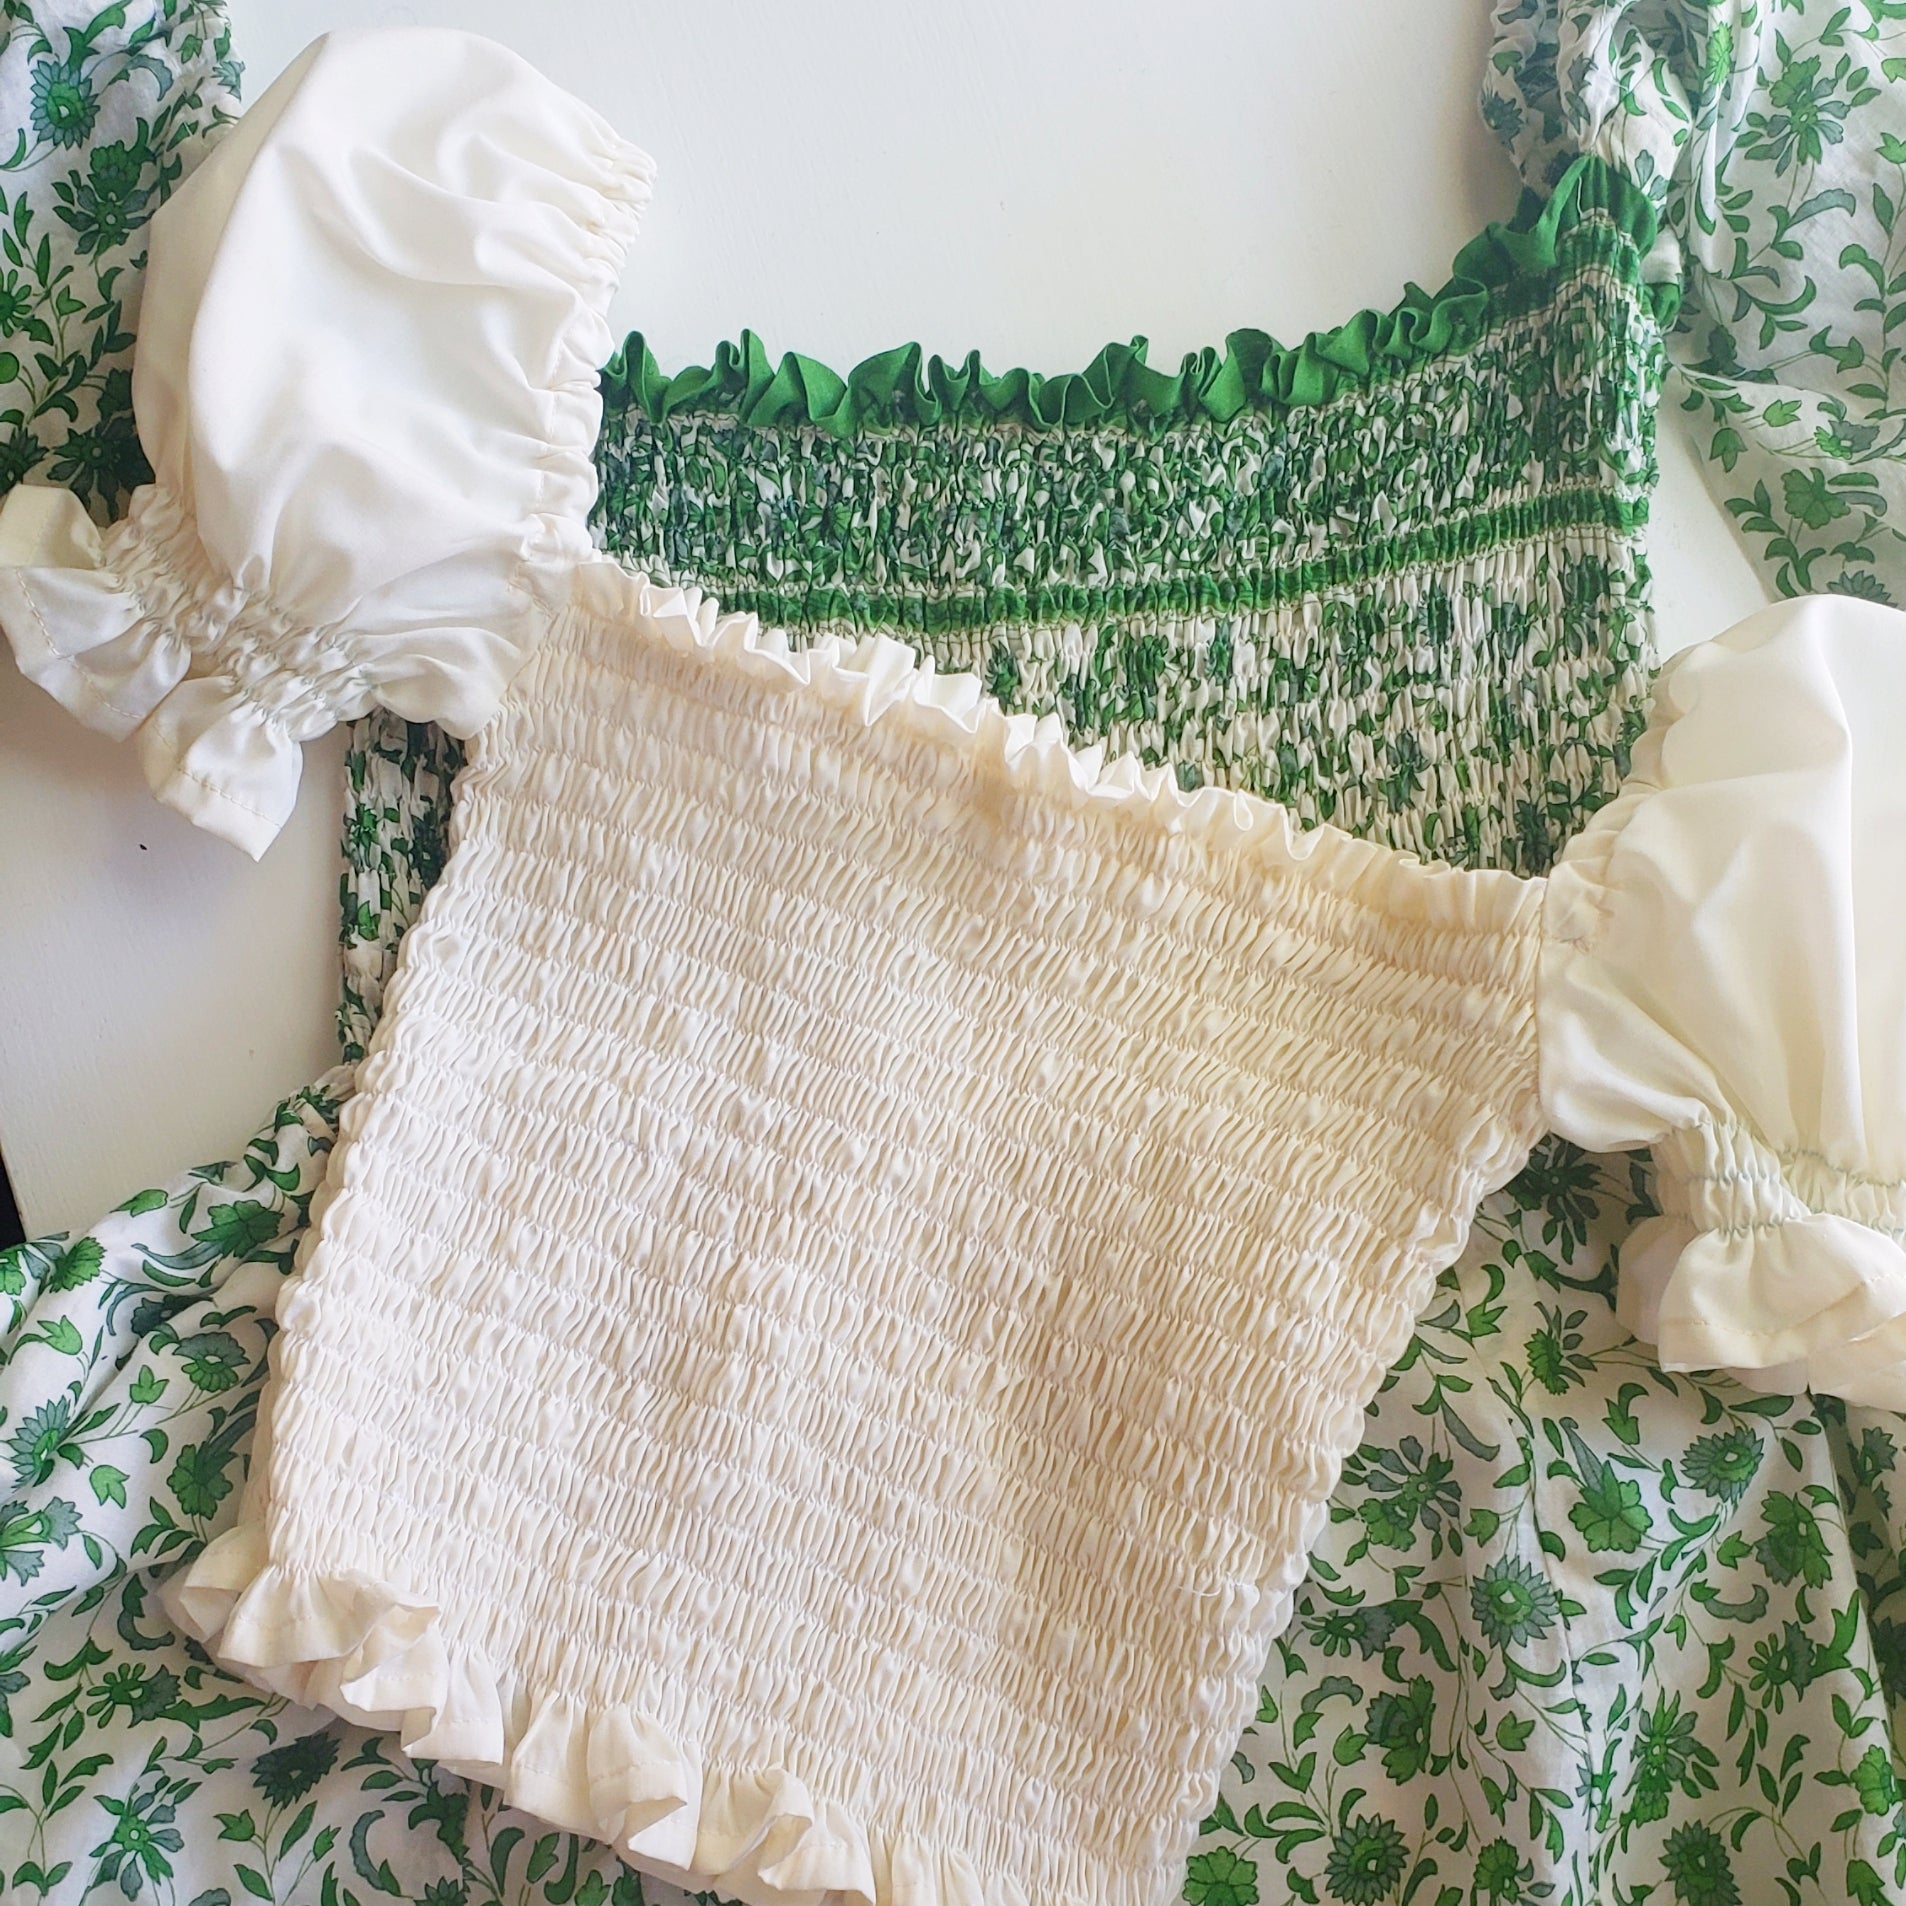
It's important to consider the fit adjustments that need to be made to the pattern before getting starting. In this post, we'll go over the adjustments you may wish to make to the Sofia pattern
Sloane features a fitted bodice with a princess seam, which is my favorite for fitting the bust area! Having a seam over the bust makes modifications to this area a pleasure.
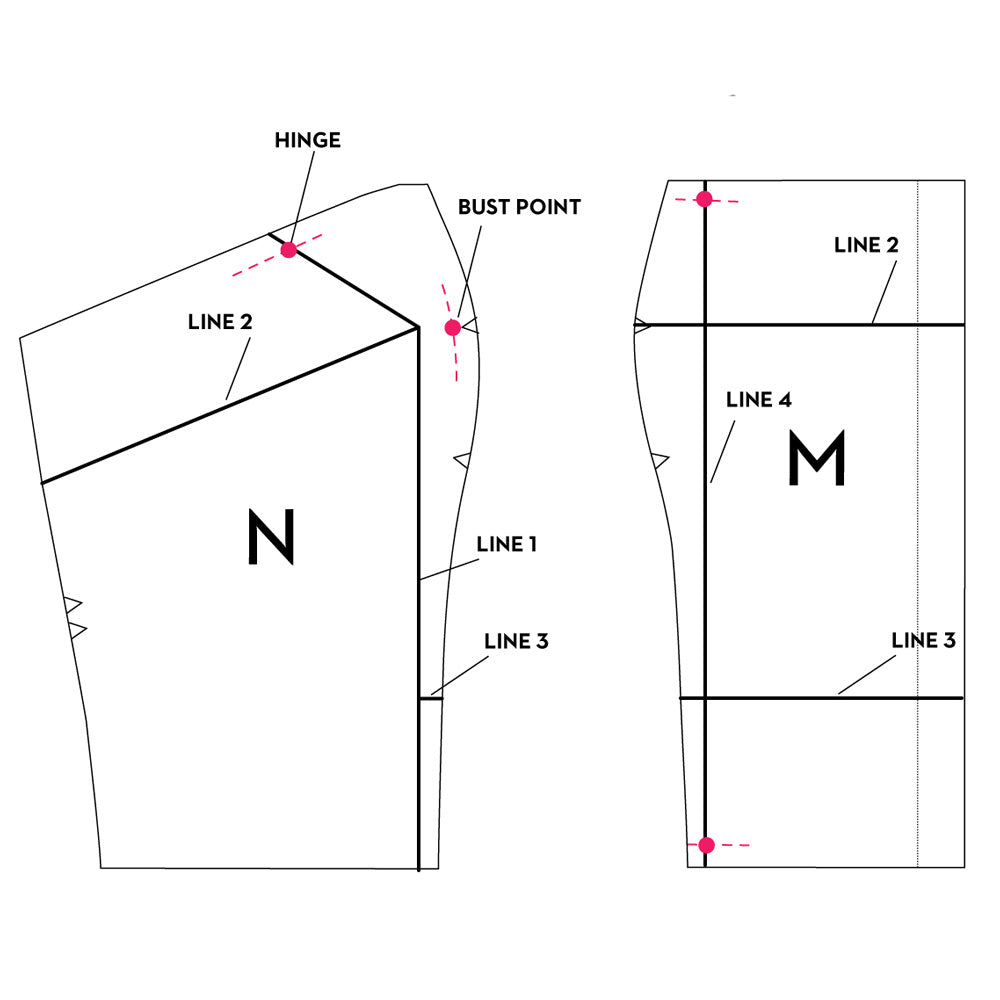
In this tutorial, I'll show you how to create a full and small bust adjustment for this style. I'll show you the quick and dirty method for those of you who have just a little bit to add or take away, and I'll also walk you through the traditional approach to a bust adjustment for this style.
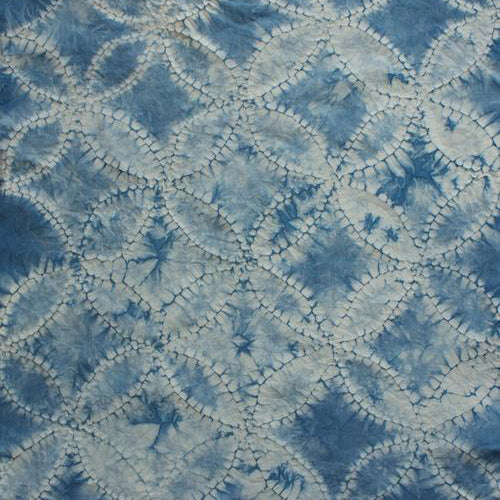
One of my passions is textile design. I don't get to do it enough these days, and I was thrilled to be able to take a natural dye class at The Workroom taught by Julie Sinden, a fantastic textile artist. This course blew my mind!!! I'm fascinated by process, and how people have figured out how to do the intricate techniques involved in so many crafts, so this class was right up my alley.
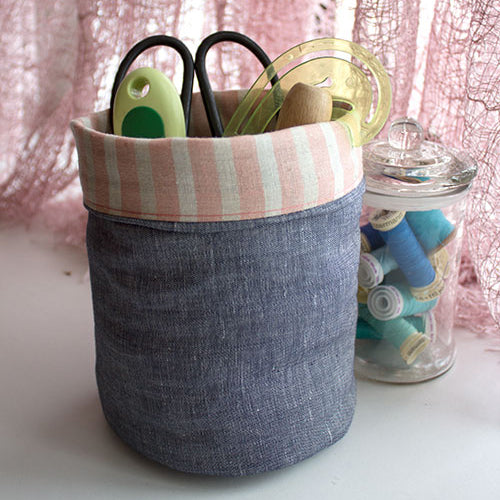
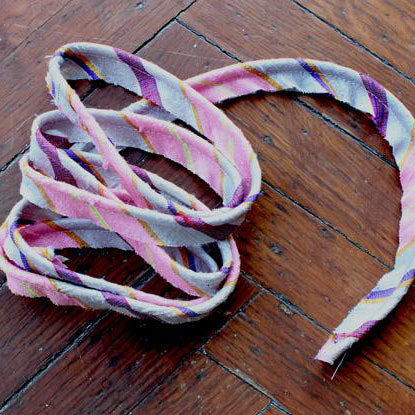
We all have that trunk, closet or drawer that is overflowing with scraps of fabric left over from previous projects. Too beautiful to throw out and yet too small for another project, these forgotten bits of fabric tend to sit collecting dust. But despair no more for we have the perfect solution! Sewers grab your collection of fabrics and prepare to be very busy creating multiples of the following tutorial as it is both a fun and functional way of using leftovers.
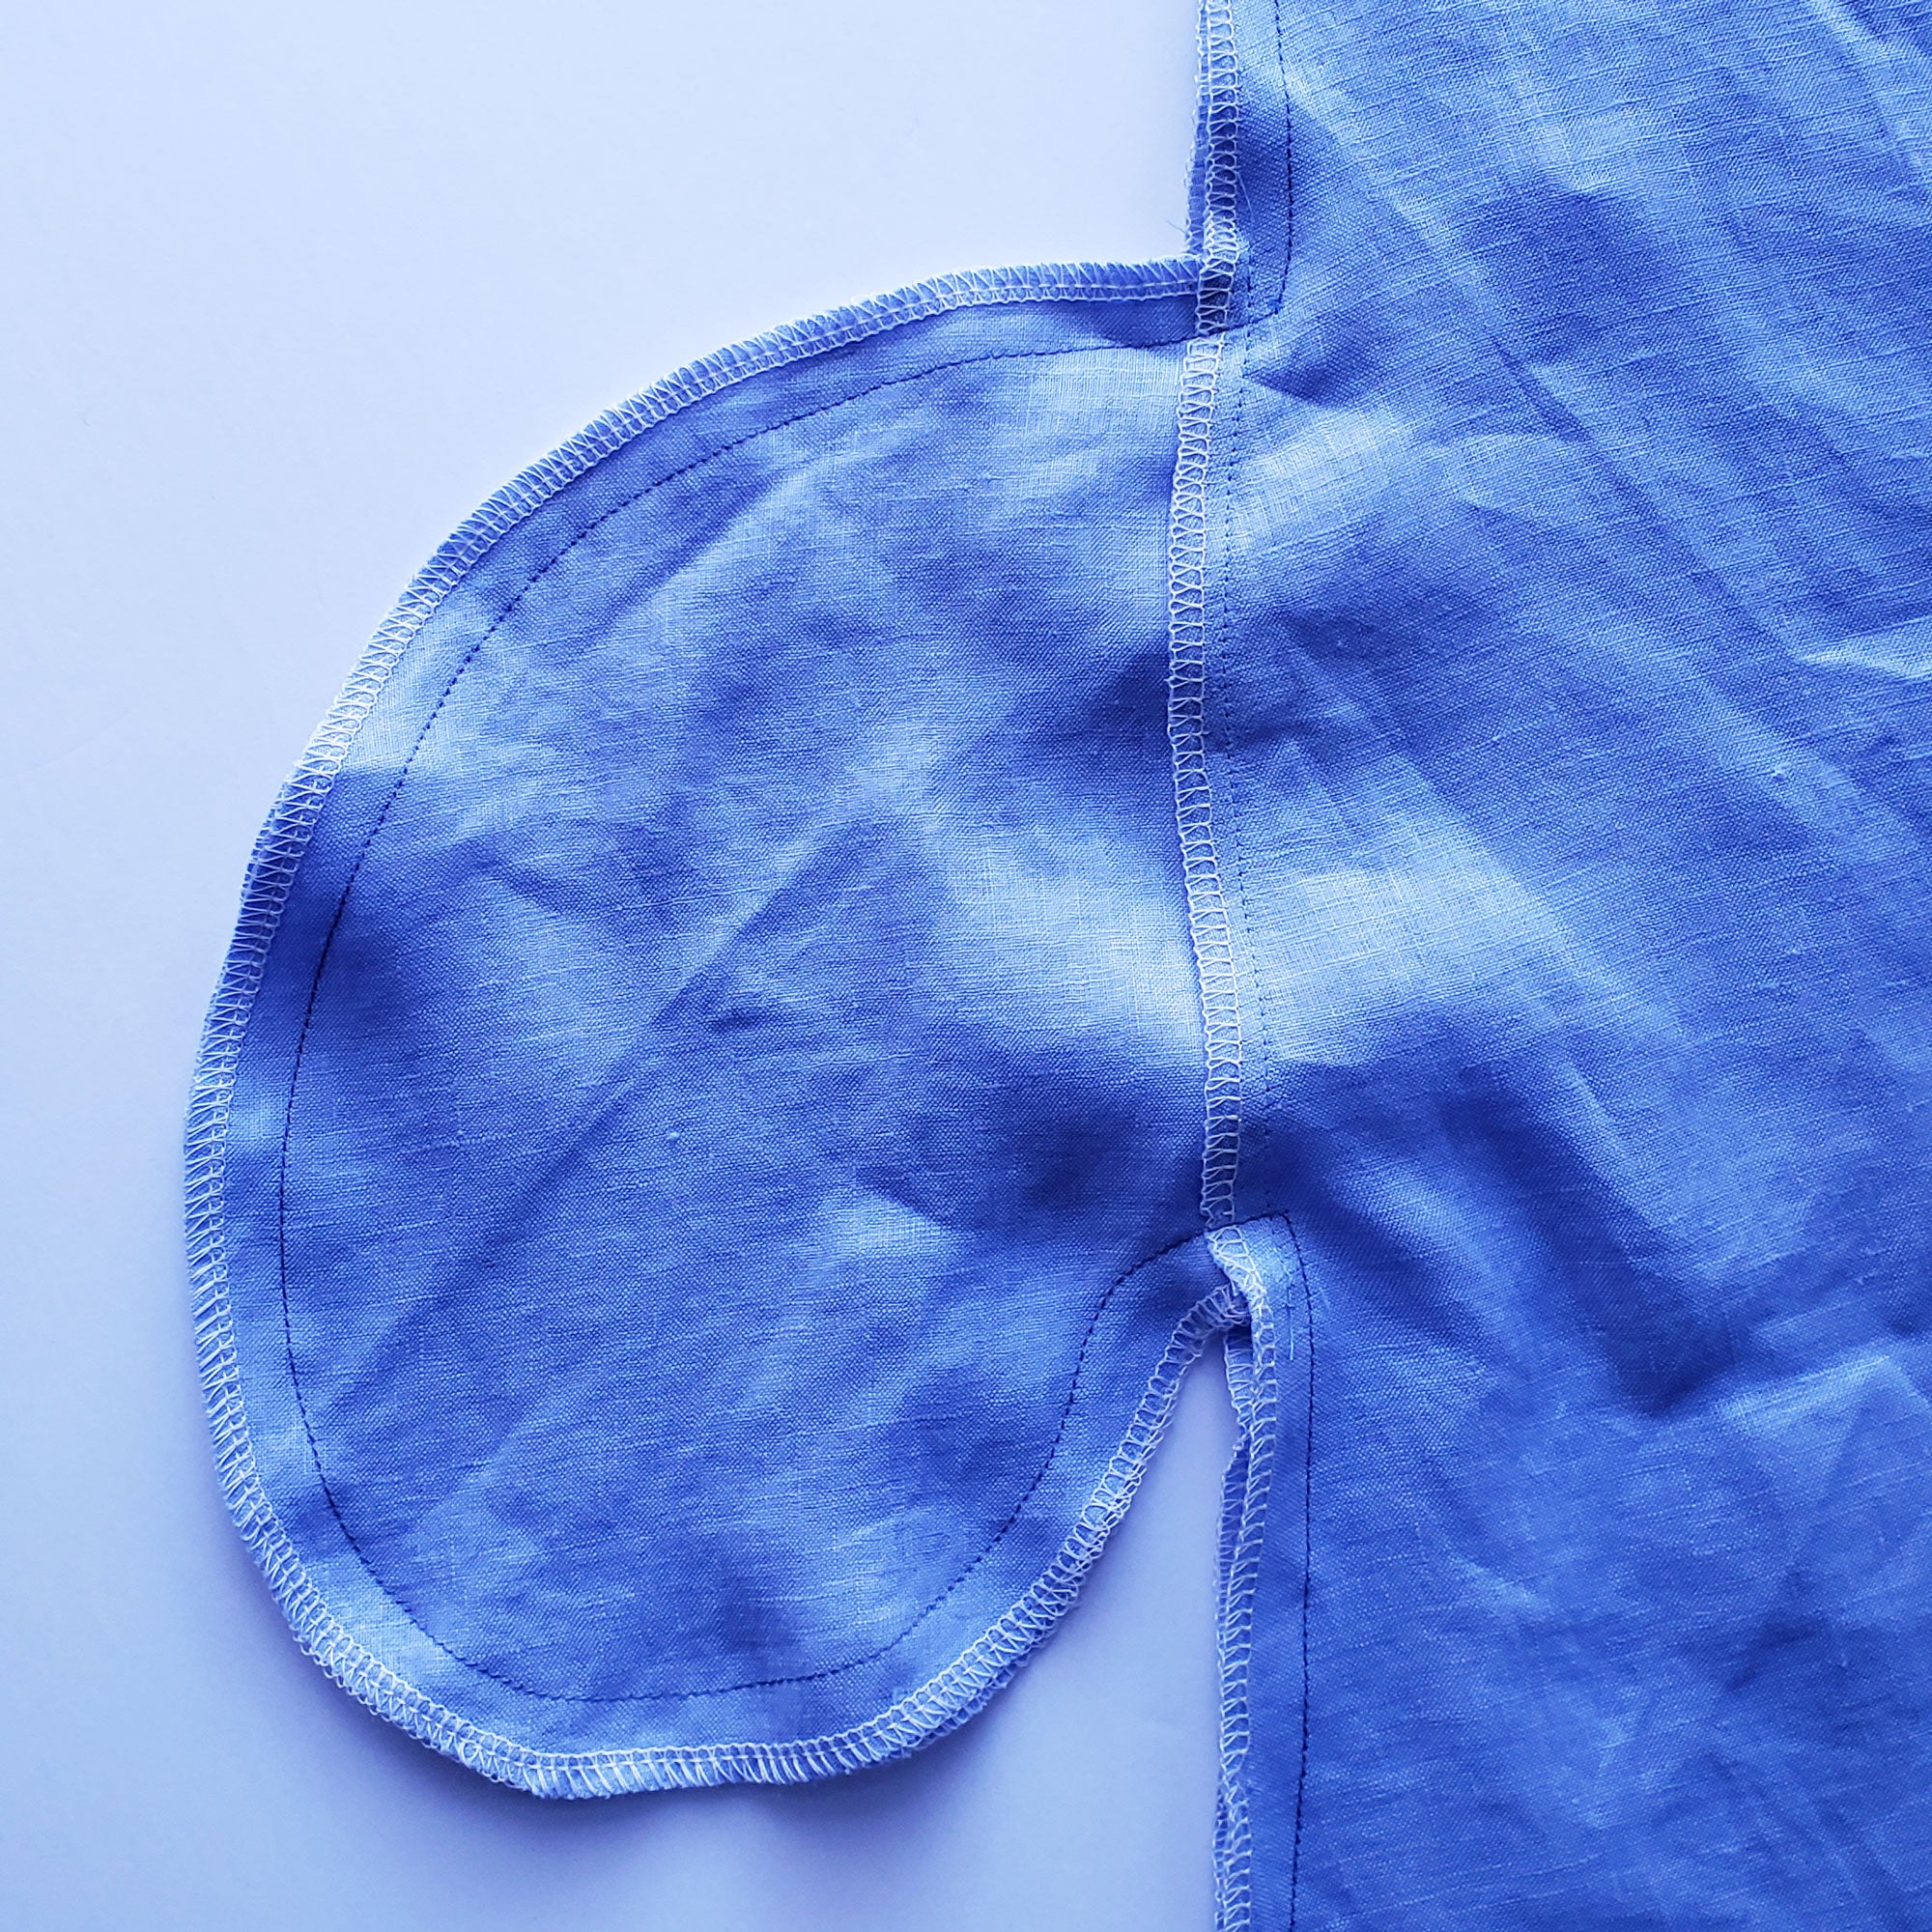
If you've ever sewn a pocket bag or a neckline facing and you find that the inside parts keep peeking out, trying to steal the spotlight from your beautiful the garment, it's likely because you haven't sewn an understitch along the seam of the finished edge. An understitch is used along edges where you have inner linings or facings that you want to remain concealed on the inside of the garment. This stitch that will help all those inner parts to stay put, leaving you with crispy clean finished edges!
Hey, let's talk about one of the best edge finishing techniques ever: Bias Binding!!! Who, what, when, where, why is binding you ask?!? Binding is a bias cut strip of fabric with pre-folded edges. The fact that it’s bias cut makes it ideal for finishing curved edges.
Adding piping to your seams can add such a special touch. It's worth the extra bit of work as it can make your seams more prominent and beautiful.
Piping comes in lots of different colors and is usually in a basic cotton fabric, but it looks extra fancy when you create piping covered with self-fabric. Whether your pattern calls for it or not, you can add piping to seams if you want to spruce up the design a little. Here's a tutorial to show you how to cover store-bought piping with self-fabric.
If you’ve ever had to hem a curved edge, you’ll know how tricky it is to turn, press and stitch it so that it looks neat and tidy. Curved edges are tricky for a few reasons. They involve a bias grainline, which causes the fabric to stretch out. Also, depending on the kind of curve you are working with, whether it be concave or convex, the fabric edge will be longer or shorter in length compared to the area it is being folded to, indicated by the red dashed line in the following diagram...