Stabilizing Seams

January 31, 2018

Samples of stabilized seams

Some seams need a little extra TLC to prevent them from stretching out and losing its shape, or to give the seam extra durability. Some examples of areas that you would commonly reinforce are armholes, necklines, bias seams, or areas like the shoulder that bear the weight of the garment.

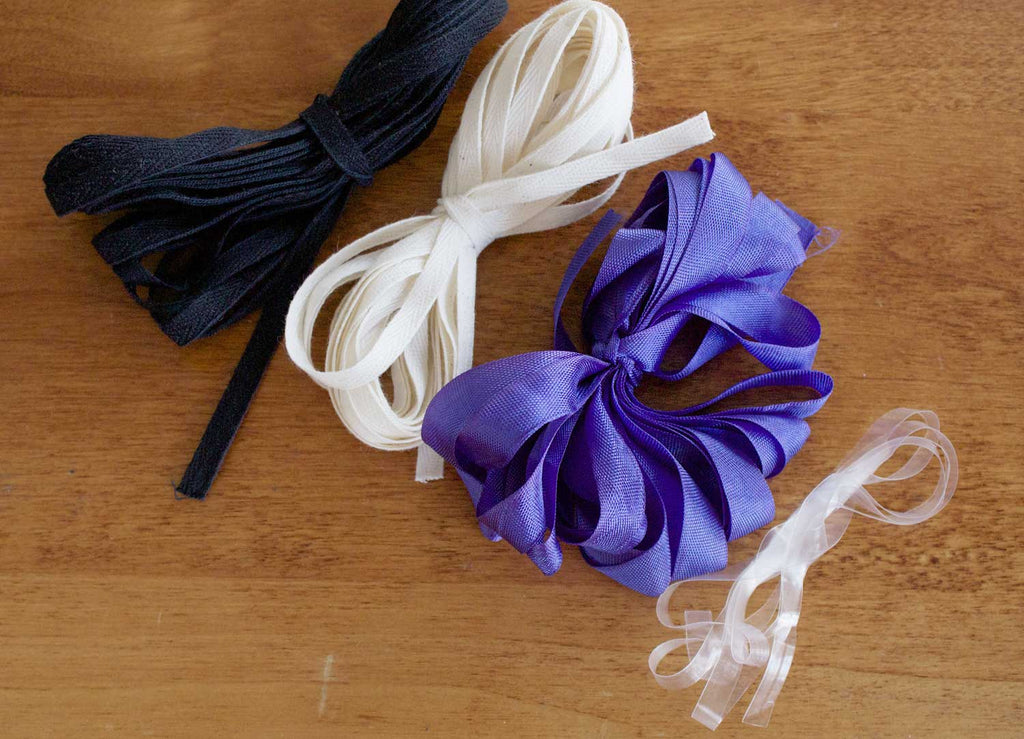
You can purchase ¼” or ½” black or white twill tape or ribbon seam binding to match your fabric. If sewing with stretch fabric, you can purchase ¼”clear elastic trim.

Stabilizers for sewing

When sewing in twill tape or ribbon binding, you should position the tape so that it extends 1/8” past the seam line, into the seam allowance.

Stabilizers for sewing


By marking the seam line in chalk or pencil, you can easily position the tape in the right place.

Stabilizers for sewing


When you are sewing clear elastic trim into stretch fabrics with a serger, you can sew the trim right into the seam allowance.

Stabilizers for sewing

Stabilizers for sewing


Just a few extra tips for sewing a stabilizer into necklines and sleeves:

It's a good idea to stabilize the neckline if it has a facing. However, it won’t be necessary to stabilize the seam with tape as the binding does a good job on its own, and the tape would add unnecessary bulk.

When sewing a faced neckline, position the tape onto the seam line of the wrong side of the constructed neck facing and baste. Press the neckline of the facing. Pin the facing to the garment neckline and sew all layers together.

When sewing the tape into an armhole, cut the tape to the length of the bodice arm opening. Baste the sleeve into the bodice. Position the tape on the armhole side of the garment and sew all layers with a regular stitch.


YOU MAY LIKE:


Leave a comment

Comments will be approved before showing up.


Also in Sewing Tutorials

How to stitch in the ditch

January 31, 2018 1 Comment

When it comes time to finish the inside edges of a garment, such as the inner edge of a waistband, cuff, collar, binding, etc, you can choose to secure the edge with a hand stitch or a machine stitch technique known as stitching in the ditch. This tidy stitch is fast compared to a hand sewn slip stitch and can save you a good bit of time.

View full article →

How to gather fabric

January 31, 2018

In this tutorial, you’ll learn how to sew a gather stitch, how to take up the gathers and finally, how to attach the gathered edge to a corresponding piece. This gathering method explains how to sew a gather stitch with three rows of basting, which is suitable for larger gathered edges or for full gathers. This tutorial is taken from the pages of Boundless Style. You can find this tutorial and many others in Boundless Style.

View full article →

Fancy Seams tutorial

January 31, 2018 1 Comment

The type of seam that choose to sew can not only make a garment look beautiful from the inside out, but they can also enhance the life of a garment, as well as your pride in what you've made. This little guide will give you a basic rundown on a few seam finishes starting with the basics, and then we'll get into the fancy stuff! I'll give you some pointers as to when to use each seam finish. When you make clothing with beautiful seams, you'll be so much happier wearing it!

View full article →