

When it comes time to finish the inside edges of a garment, such as the inner edge of a waistband, cuff, collar, binding, etc, you can choose to secure the edge with a hand stitch or a machine stitch technique known as stitching in the ditch. This tidy stitch is fast compared to a hand sewn slip stitch and can save you a good bit of time.
This technique works by stitching through the crack of the stitch on the right side of the garment while securing the under-layer in place on the wrong side. This results in a clean finished edge on the inside while creating an invisible stitch on the outside of the garment
Here’s how it’s done...
In this example, we will be demonstrating the technique by finishing a neckline with a bias binding. This technique can also be used for finishing a waistband, cuff, placket, etc.
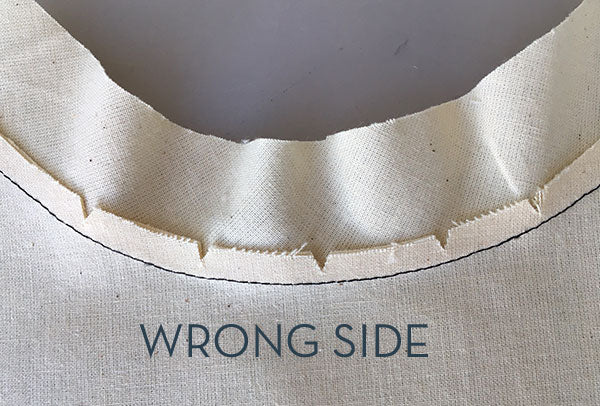
- Press the unfinished outer edge of the binding in towards the wrong side. This edge should be pressed approximately 1⁄8" (3 mm) less than the final seam allowance for this edge. For example, if the neckline seam allowance is 3⁄8" (1 cm), this edge of the binding should be pressed at 1⁄4" (6 mm).
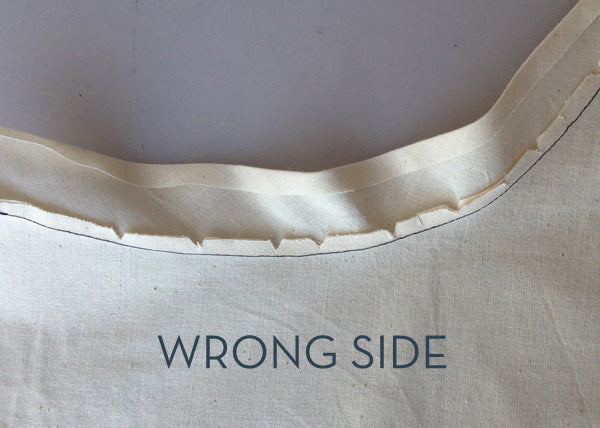
- On the wrong side of the garment, cover the stitch line of the garment’s seam with the pre-pressed edge. The pressed binding edge should cover the stitch line, extending past the stitch by approximately 1⁄8" (3mm). Pin the edge in place.
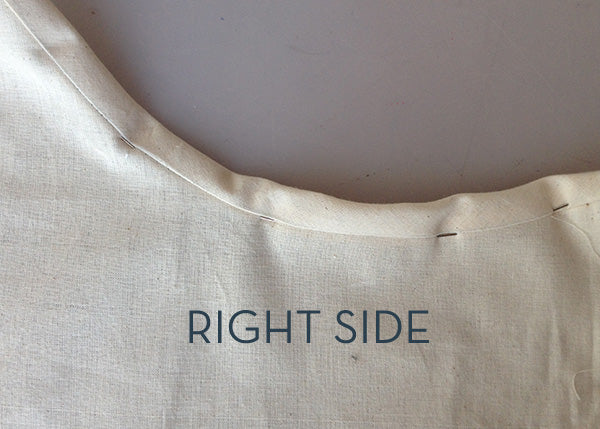
- The folded edge should be neatly pinned along the seam so that it covers the stitch line.
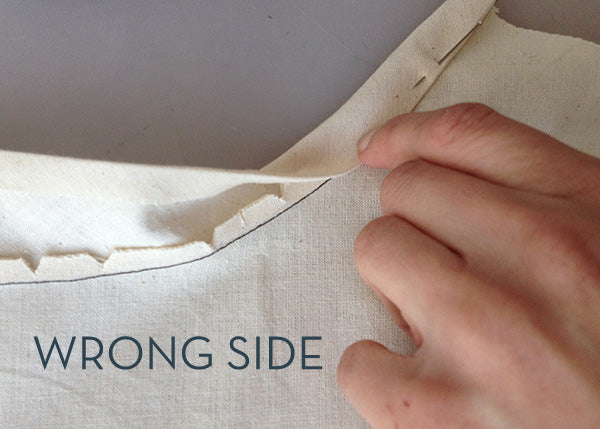
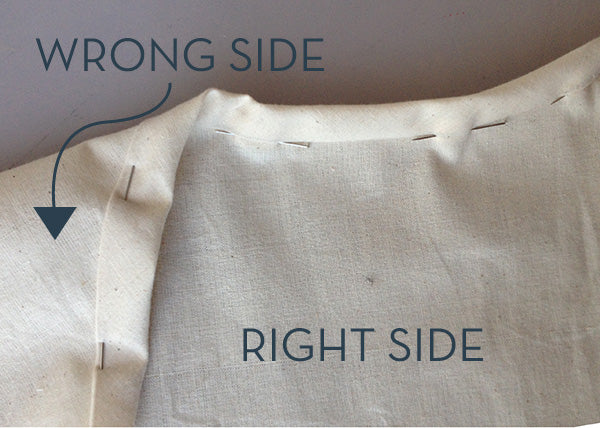
- Since we will be sewing with the right side of the garment facing us, it will be tricky to sew with the pins underneath. To avoid this, carefully transfer the pins from the underside of the garment to the top side.
- As you transfer the pins, pinch the layers of the fabric together so that you are holding your work in place.
- Make sure to insert the pin directly into the ditch of the seam, securing the underside of the binding.
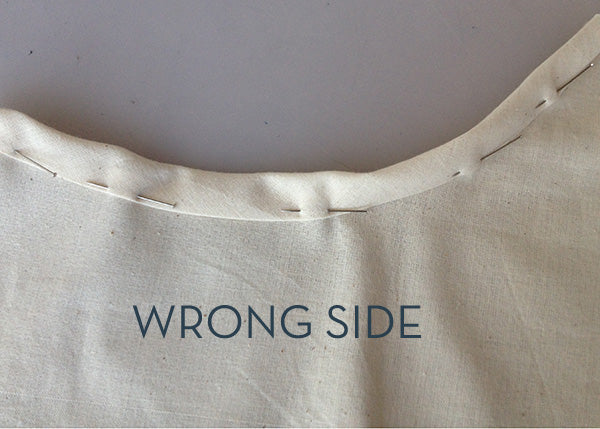
- Check that the pins have captured the folded binding edge on the underside of the garment.
- Place the machine’s needle in the ditch of the seam. Sew slowly and pull the fabric lightly on either side of the needle as you guide it through the ditch. Remove the pins as you approach them.
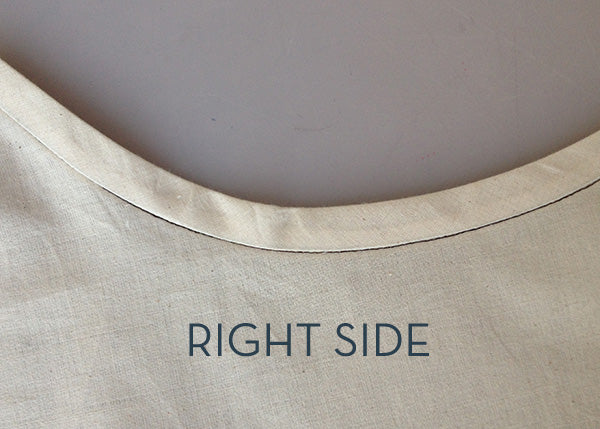
- The finished stitch is invisible on the right side of your garment while capturing the inside folded edge.
YOU MAY LIKE:

Comments
Ogo
Thank you so much for this clear tutorial!
June 30, 2022
Leave a comment