JACKIE SEW ALONG - CONSTRUCTION DAY FOUR VERSION ONE

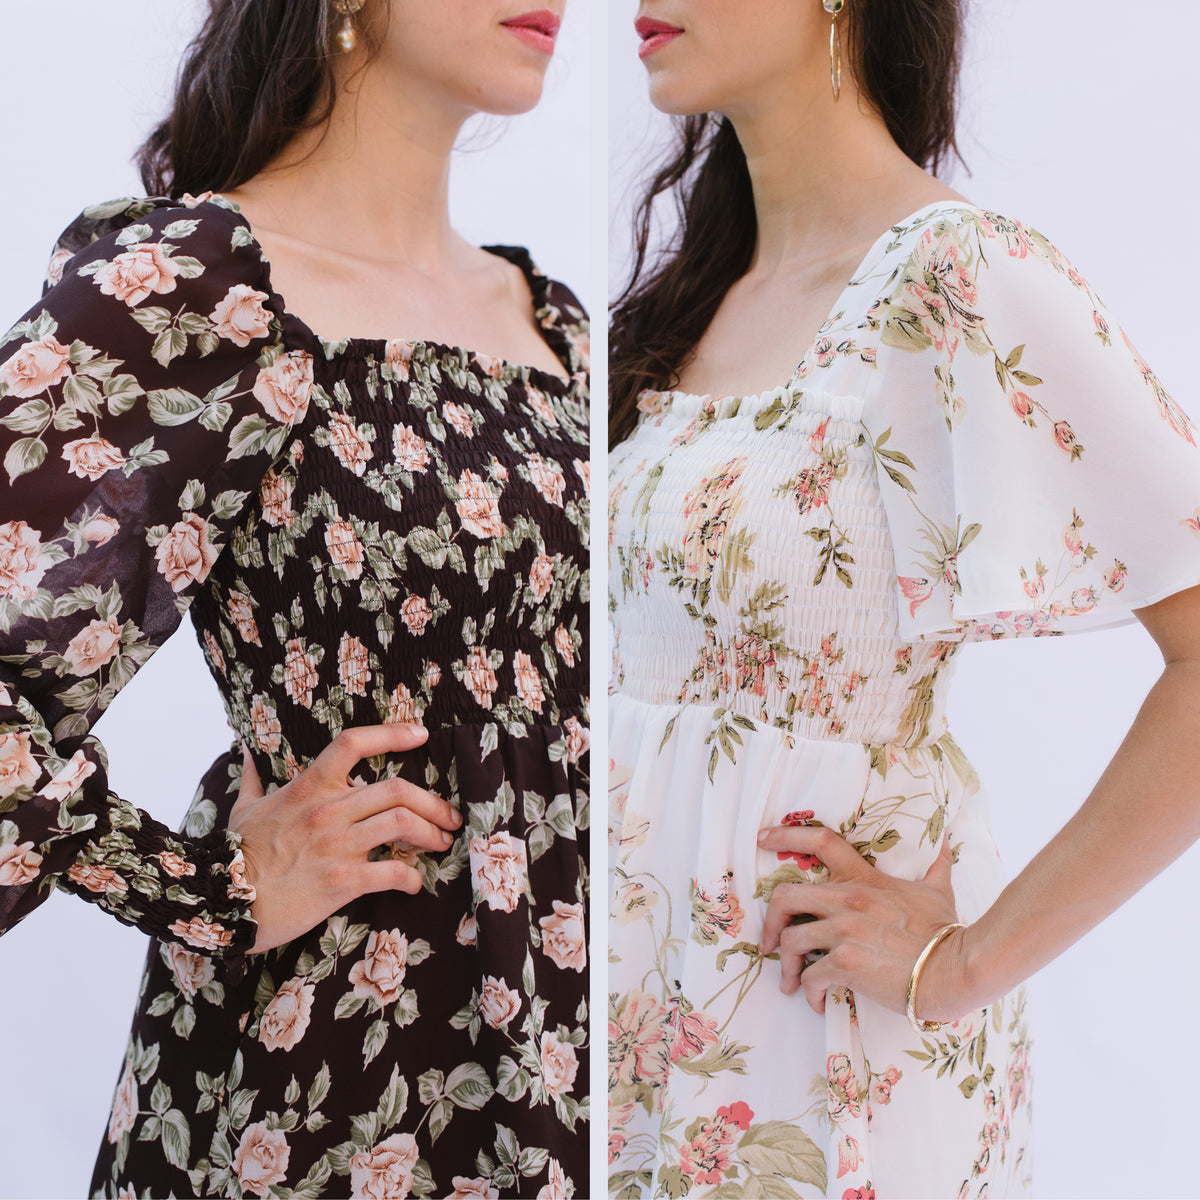
Today is the final day of the Jackie sewalong!!! I bet you're eager to finish your projects! Since there are two versions of the Jackie dress, we've split up the tutorial into two parts. The first post will walk you through version one of the dress and will cover the sleeve construction. The second post will be for version two, which will cover how to sew an armhole facing for a sleeveless dress.
In this post for version one of the dress, we will learn how to sew a knit sleeve, sew the dress side seams and we'll talk about two methods for sewing the hem. And finally, we'll sew on the buttons!
Let's get started!
SLEEVES:
Pre-press your sleeve hem allowance.
Turn the hem edge over towards the wrong side of the sleeve by 3/4" (2 cm). Press along the folded edge.
Turn the folded hem allowance. We'll come back to this later in the project.

It's time to sew the sleeve into the armhole. We'll stary by figuring out the orientation of the sleeves.
Lay the dress right side up. Lay the sleeve right side up alongside the dress armhole.
The front of the sleeve is indicated with a single notch along the armhole while the back sleeve is indicated by a double notch. When laying the sleeve down, make sure that that the front and back orientation is correct.


Sew the sleeve to the dress. Make sure the the shoulder seam is turned towards the back of the dress as you sew.

Check the sleeve seam for any puckers to could have fromed during sewing. If puckers have formed, it is because the sleeves was not eased into the armhole of the dress evenly. To fix this, simply tear the stitch surrounding the puckered area and ease thae fabric as you re-stitch the seam in that spot.

Lightly press the seam allowance towards the sleeve. It helps to use a tailors ham to do this as you can use the shape of the ham to build shape into the shoulder.

SIDE SEAMS:
Fold the Dress Front and Back right sides together and match the side edges.
The first place to match is the underarm seam. Make sure that the front and back of the dress align properly at this seam and pin here.


HEMMING:
Before sewing your hem, slip on your dress and determine if you need to make a length adjustment. The Jackie dress has a hem allowance of 3.4" (2 cm), so if you decide to trim off some length, make sure to leave a hem allowance.
TWIN NEEDLE HEM FINISH:
Turn the hem towards to the wrong side of the dress by 3/4" (2 cm). I like to use a seam gauge and measure as I press.


SERGE AND STITCH HEM:
Finish the hem with a serge stitch.
Turn the hem towards to the wrong side of the dress by 3/4" (2 cm). I like to use a seam gauge and measure as I press.
Pin the hem allowance in place. For a serge and stitch hem, the pins should be on the wrong side of the dress.


BUTTONS:
I love finishing touches on a garment. It feels like a cherry on top of a cake, so I like to save it until the very end!
Use the thread tacks along your Back Facing to determine the location of your buttons.


Congratulations!!!! You are finished your Jackie dress!
I hope you had fun on this little sewing adventure. We would LOVE to hear from you to learn about how it went, find out what you learned from this series and to see your creation! If you post your dress on social media, make sure to tag us @victorypatterns and use the hashtag #jackiedresspattern. You can also contact us through the contact form and send us an email.
Thanks for joining in and being a part of this sewalong! Now go out and paint the town red in your beautiful new dress!
YOU MAY ALSO LIKE:
Leave a comment
Comments will be approved before showing up.
Also in The Victory Patterns Blog

Pair the Sofia Bell Sleeve Strap with any sleeve option

How to sew a centered zipper
Learn how to sew a centered zipper using directional sewing: a simple trick to keep your fabric from moving out of place.


