


PDF patterns offer instant access to your sewing designs, and you have choices for how to use them. You can print them on your home printer and assemble them into a full-scale pattern, or you can take advantage of the copy shop files we include with every pattern, which saves you significant time and effort. In this post, we'll walk you through the home assembly process step by step. Whether this is your first time assembling a PDF or you're refining your technique, you'll find practical tips to make the process smoother.
Before we dive in, a quick reminder: our patterns come with multiple print options. Both 36" and A0 copy shop formats are included if you decide to use a professional printer instead. (You can find a list of Canadian and US printing sources here.) If you do choose to assemble at home, you can either cut the pattern pieces directly from your assembled PDF, or you can use the assembled sheets as a template and trace out the pieces, which gives you the flexibility to make adjustments or create multiple sizes.
Supplies You'll Need

Cutting tool: A rotary cutter is ideal for clean, precise edges, though a craft knife works well too. Scissors tend to introduce too much room for error on paper edges, so I'd reserve those for your fabric. One helpful tip: dull rotary cutter blades that no longer cut fabric work perfectly for trimming paper.
Cutting mat: Essential for protecting your table when using a rotary cutter.
Tape: To secure pages together. I recommend tape over glue sticks—glue tends to dry out and lose its bond over time, which can be frustrating once you're already sewing.
Ruler: A metal ruler with a cork back is worth the investment. The metal edge prevents you from cutting into the ruler itself, and the cork backing keeps it from sliding as you work.
Printing Your PDF
When you open the file to print, check that "No Page Scaling" is selected in your printer settings. Our PDFs are set to this by default, but it's worth verifying on your end to ensure accurate sizing.
If you're looking to conserve ink, you can lower the print resolution (dpi) or use draft mode if your printer has it. The print quality will be lower, but it should remain visible enough for pattern assembly and tracing.

Testing Your Scale Before You Print Everything
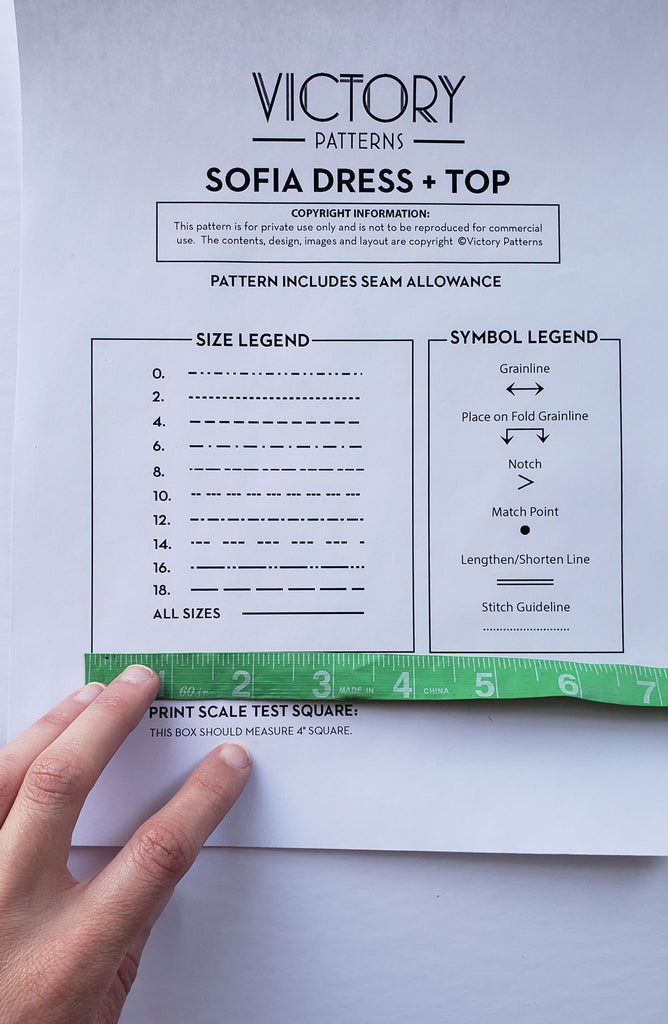
Print just the first page before committing to the entire pattern. On this page, you'll find a scale test square. Measure this square against the dimensions listed in your pattern instructions to confirm that everything is printing at the correct scale. This first page also lets you evaluate whether your chosen print resolution is clear enough to read. Once you've confirmed the scale is accurate and the print quality is acceptable, go ahead and print the remaining pages.
Assembling the Pages

Example: The Jackie Dress Assembly Diagram
Separate the pages by row:
Sort pages by row: The most efficient approach is to organize your printed pages according to their registration marks. These diamond-shaped marks appear along the edges of the pages and indicate how they connect. (Your pattern instructions include an assembly diagram—such as the example shown for the Jackie Dress shown above—that maps out the arrangement.) Group pages that share the same row of registration marks, then gather them into piles. This makes it easy to work through the assembly in sections.
Trim the edges: Before joining pages together, you'll need to remove the margins along certain edges. Look for small scissor symbols printed on the pages—these indicate which edges need to be trimmed away. The first row of pages has a scissor symbol on the left side; subsequent rows have an additional scissor symbol along the top edge.
Use your metal ruler and rotary cutter to trim precisely. I like to position the ruler so it sits on top of the pattern itself, which prevents the blade from accidentally cutting into your pattern lines. Accuracy matters here—sloppy cuts will make alignment difficult in the next steps.


Tape each row together: Use the diamond-shaped registration marks to align adjacent pages. The marks on one page should match exactly with the marks on the neighbouring page (for example, the mark labeled "1A" on one page aligns with "1A" on the next). Once everything is properly aligned, use small pieces of tape at both ends and in the middle of the adjoining edges to hold them securely.
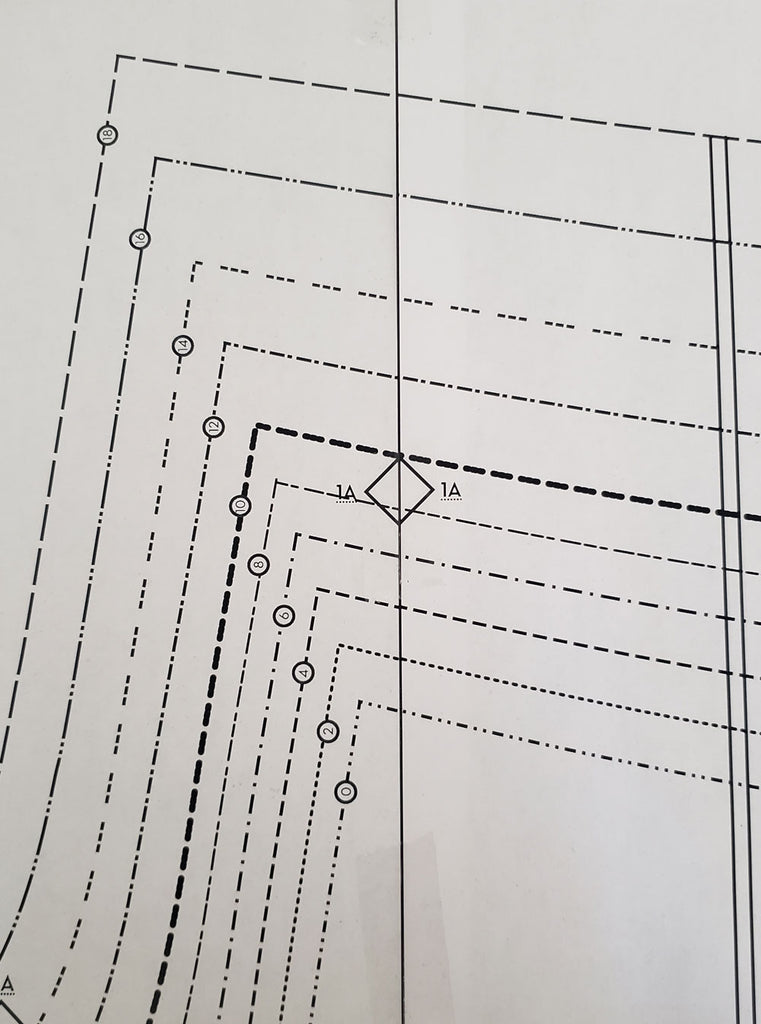

Attach the rows together: Once all individual rows are complete, use the registration marks along the top and bottom edges to align the rows to each other. Tape them together using the same approach—small pieces at the ends and middle.


How You'll Use Your Assembled Pattern
Depending on your preference, the finishing steps differ slightly.
If you're cutting pattern pieces directly from the assembled PDF: You'll want to reinforce any spots where a pattern line crosses the junction between two taped pages by adding an extra piece of tape on the right side of the pattern. This prevents the pattern from separating as you cut.
If you're keeping your assembled PDF as one large sheet for tracing: Flip the pattern over to the wrong side and add tape at the page intersections. This keeps it intact while you work and creates a durable reusable template.
If you're planning to break it down into smaller, storable pieces: You can rough-cut around individual pattern pieces for easier storage, but before you do, reinforce any spots where a pattern line meets two overlapping pages with tape. Otherwise, these sections will separate when you cut them apart.

YOU MAY LIKE:

Leave a comment