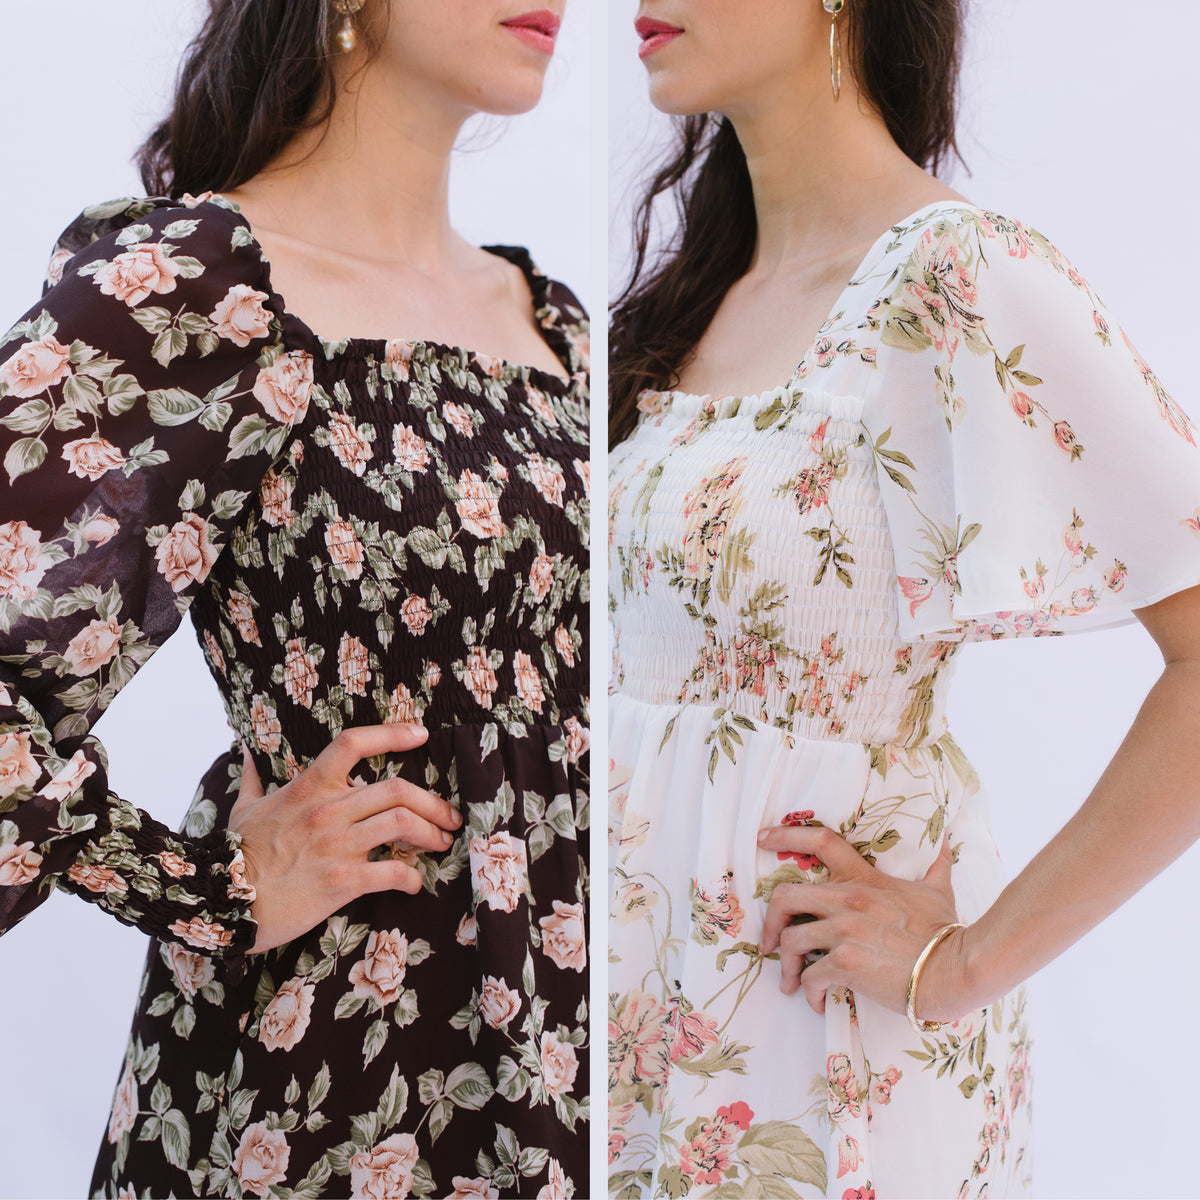
Lola Sewalong: Finishing the Dress
Welcome to the FINAL DAY of the Lola sewalong! We're so close to finishing this dress, and I'm so excited for you guys to welcome this cozy new dress into your wardrobe! Let's not waste any time!Attaching upper and lower dress:
- Place the upper and lower dress components in front of you.

- With the upper dress turned right side out, with the front-facing you, flip the piece upside down so that the neck is facing the lower dress.
- Turn the lower dress wrong side out, with the front of the dress facing you.

- With the pieces in this orientation, we're going to slip the upper dress into the waist opening of the lower dress; The pieces should be right sides together.

- Once the upper dress is inserted right sides together with the lower dress, pin the pieces together along the waistline, matching all seams.
- As you pin the seams together, offset the seam allowance. Ensure that the seam allowance from the upper dress turns to one side, and the lower dress turns towards the opposite side of the seam; This will help to reduce bulk at these seams.


- Sew the waistline seam.

- Press the waistline seam down towards the hem.

Bands:
For the final part of the dress construction, it's time to sew the neckband (J), cuffs (K), and hem bands (L-1/L-2).
- For the Cuff, Neckbands, and L-1 Hemband fold each band rights-sides together, matching the short ends of each of the bands.
- For L-2 Hem band, place the two pieces right sides together and pin together along the two short sides.
- Sew along the short edge of each band.
- As you sew, try using a "chain stitch" method; This means that after sewing the seam of one band, instead of cutting the thread, you will insert the next band as soon as the first seam has been sewn. The same stitch will connect the bands.

- Once all band seams have been sewn, cut the line of chain stitching to separate the bands.


- If you have sewn the bands on a sewing machine, press the seam allowance open.
- If you have sewn the bands on a serge, press the seam allowance to one side.

- Fold the bands in half so that the wrong side of the band is facing itself and align the unfinished edges of the band.

- Press the folded edge of each band.
- You will now have two cuff bands, one neckband and one hem band.

Attaching the Bands:
The circumference of the band pieces is shorter than the adjoining area. We will need to evenly distribute the difference between edges as we attach the bands to the dress.
Let's attach the cuffs first.
- Insert your hand into the sleeve of the dress.

- With your hand exiting the sleeve, insert the cuff onto the sleeve edge. Align the cuff seam with the sleeve seam.

- Align the unfinished edges of the sleeve and cuff.
- Stretch the sleeve/ cuff together, so that the length between pieces becomes equal.

- Pin the cuff around the opening of the sleeve.

- As you remove your hand from the sleeve, the fabric will relax, and you will see the difference between the layers appear, as the sleeve will be longer than the cuff.

- Sew the cuff seam, and as you do, pull the fabric slightly as you sew, so that you are maintaining the equal distribution in length between cuff and sleeve as you sew.

Attaching the Neckband:
For the neckband and hem band, we will use a technique called "quadrating" to equally distribute the difference between the length of the band and the bands' corresponding edge. "Quadranting" divides an area into four equal sections, making it easier to spread the difference evenly between edges.
Quadrant the neckband:
- Insert a pin at the seam each band, joining the two layers together; This marks the first quadrant.

- On the opposite side, halfway along the band, insert another pin, marking the second quadrant.

- Match the first and second quadrant pins together, and insert a pin on the two folded edges on each side of the band; This will mark the third and fourth quadrant.


Quadrant the neckline:
- If you cut the centre notches along the neckline when cutting your fabric, notice to centre front and back notches along your neckline. These will be your first and second quadrants.

- If you didn't cut these centre notches, no problem! Let's find the centre now by matching the sleeve seams from both left and right sleeves together. The folded edges will be the centre front and back of the neckline. Mark these spots with pins.

- Bring the centre front and back quadrant pins together. On each side of the neckline, align the neckline edges. Where a fold is created along this edge, insert a pin; This will be your third and fourth neckline quadrant.


- Begin to pint the neckband to the neckline. With the right sides together, aligning the unfinished edge, start by aligning the neckband seam to the centre back quadrant of the dress.

- Continue along the neckline, matching quadrant points, pinning the neckband at these points.

- You will see a slight difference in length between the neckline and neckband.

- Insert a few pins in between the quadrant points along the neckline. As you do this, stretch out the difference in the lengths evenly.


- Sew the neckband along the neckline. As you sew, give a slight stretch to the fabric, allowing the neckband to equal the length of the neckline.
- Press the neckline, turning the seam allowance towards the garment.

- You can optionally sew along the neckline with a twin needle. When I do this, to help in creating an even alignment, I'll place a small piece of tape on my pressure foot that will serve as a guide to align my neckline seam. I set this tape 1/8" (3 mm) away from the right-hand side needle.
- When sewing this stitch, start in an inconspicuous place, such as a back sleeve seam.
- Once sewn, press the finished neckline once again.

Attaching the Hem Band:
- Quadrant the hem band in the same way as you did with the neckband.
- If you are using piece L-2, consider the two side seams to be the first and second quadrant.


- Quadrant the hem edge of the dress. Insert a pin at the centre front, centre back, and side edges of the lower edge.


- With right sides together, match the hem band along the lower edge of the dress, connecting quadrant points.
- For piece L-1, connect the side seam of the band to the side quadrant point of the dress.
- For piece L-2, connect the side seams of the band to the side quadrant pins along the lower edge of the dress.

- Sew the hem band seam.
- Press the seam and turn the seam allowance down towards the hem.

Thank you so much for joining me on this dressmaking adventure, and I know you're bursting to go and slip into the comfy dress for the first time. I hope it's everything you hoped it would be and more! Please let me know in the comments how it went for you, and if you'd like to share your creating on social media, We'd all love to see what you've made! You can use the hashtag #victory Lola and tag me @victorypatterns.
Thanks again so much, now go try that dress on!
Leave a comment
Comments will be approved before showing up.
Also in The Victory Patterns Blog

Pair the Sofia Bell Sleeve Strap with any sleeve option

How to sew a centered zipper
Learn how to sew a centered zipper using directional sewing: a simple trick to keep your fabric from moving out of place.


