The Sofia cap, elbow and bishop sleeves
Welcome back to the Sofia sew-along! In the last post, we sewed shirring on the bodice, which means you're all sew up for sewing shirring on the sleeves.
In this post, we will be sewing the bishop, cap, and elbow sleeves for the Sofia pattern. These sleeves all involve shirring and share similar construction steps. First, we will prepare the hem, then we will sew the shirring, and finally, we'll sew the side seam and hem. Let's get started.
Preparing the Sleeve Hem
Cap & Elbow Sleeve:
-
Pre-press the hem of the sleeve. Turn the hem edge towards the wrong side by 3/8" (1 cm) and press. Turn the edge in again by 3/8" (1 cm) and press.
The hem will be sewn in a later step. Pressing it when the sleeve is flat makes this step easier than when the sleeve is sewn in the round.


Bishop Sleeve:
- Finish the hem edge with a serge or zig-zag stitch.
- Turn the hem edge towards the wrong side by 3/4" (cm) and press.
- The Bishop Sleeve hem will be sewn in place as the shirring is sewn near the hem edge.

Marking the shirring guidelines
Before sewing the shirring, prepare the guidelines for the shirring stitches. If you are marking chalk guidelines, mark all lines onto the sleeve pieces.
If you are using a guide foot, draw the first line as a guide, and use the pressure foot as a guide for the remaining shirring lines. If you are sewing the Bishop sleeve with the guide foot, it is not necessary to draw the first guideline, as you can use the em edge as your initial guide.
- To mark the sleeve, place the sleeve right side up.
Cap & Elbow Sleeve:
- The notches along the side edge indicate the placement of the shirring lines.
Bishop Sleeve:
- The notches along the side edge, nearest the hem, mark the placement for the first and last shirring lines. Space the other lines 1/2" (1.3 cm) apart in between these notches.

Shirring the Sleeve
- With the sleeve facing right side up, sew the shirring using the continuous method.
- Begin the first line of shirring with a backstitch and stitch the first line.
- Stop the stitch 1/4" (6mm) away from the side edge. Lift the pressure foot.
- Pivot the foot in the direction of the side edge. Adjust the stitch length to 2.5". This reduced stitch length will reduce the amount of shirring stretch, and allow you to "skip" to the next row of shirring without shirring the side seam edge. Sew 6-7 stitches along the side edge, so that you will now be 1/2" (1.3 cm) away from the previous shirring stitch.
- Increase your stitch length back to your previous shirring setting. Continue sewing the next line of shirring.
Cap and Elbow Sleeve:
- For the Cap and Elbow Sleeve styles, sew the four lines of shirring.


Bishop Sleeve:
- Sew the first shirring stitch near the hem edge of the sleeve. This stitch will secure the folded edge, completing the hem.

- Sew all the rows of shirring using the continuous shirring method,
Bishop, Cap & Elbow Puff Sleeve - Sewing the Sleeve Seam
Cap & Elbow Sleeve:
- Fold the sleeve right sides together. Unfold the hem of the sleeve, and pin the side edges together. Sew at 1/2" (1.3 cm) seam allowance. Finish the seam with a serge or zig-zag stitch.

Bishop Sleeve:
- Fold the sleeve right sides together. At the hem of the sleeve, make sure that the folded hem edges match precisely. Pin the side edges together and sew at 1/2" (1.3 cm) seam allowance. Finish the seam with a serge or zig-zag stitch.
- Once the sleeve seam is sewn, at the hem of the sleeve, turn the seam allowance over to one side. At the hem, stitch the sleeve seam allowance in place along the seam.


Cap & Elbow Puff Sleeve - Sewing the hem
- Edgestitch the hem, sewing at a scant 3/8" (1 cm). Press the finished hem.
- Fold the sleeve right sides together. Pin and sew along the side edge of the sleeve at 1/2" (1.3 cm) seam allowance.
- Finish the seam using a serge or zig-zag stitch.

The next step for the sleeve is to attach them to the bodice and sew the elastic bias channel. We'll cover these steps in another post so stay tuned.
Now that the sleeves are complete, we're finished with shirring! In the next tutorial we will complete the Sofia bodice.
If you enjoyed this tutorial and want to keep it close at hand, you can save this pin to your Pinterest sewing tutorial board...

YOU MAY ALSO LIKE:
Leave a comment
Comments will be approved before showing up.
Also in The Victory Patterns Blog

Pair the Sofia Bell Sleeve Strap with any sleeve option

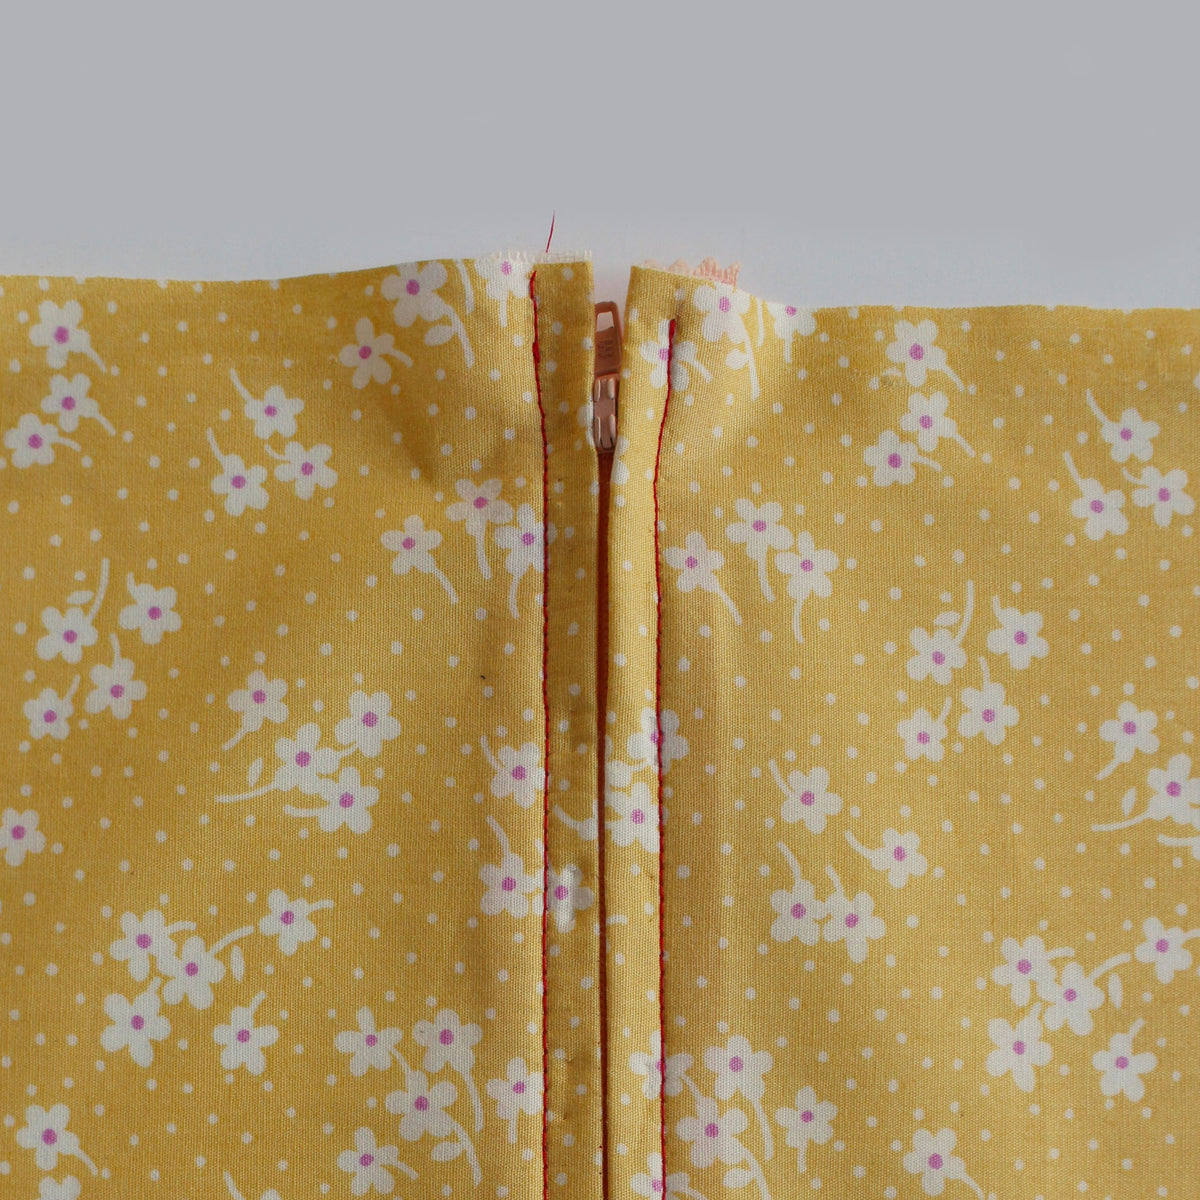
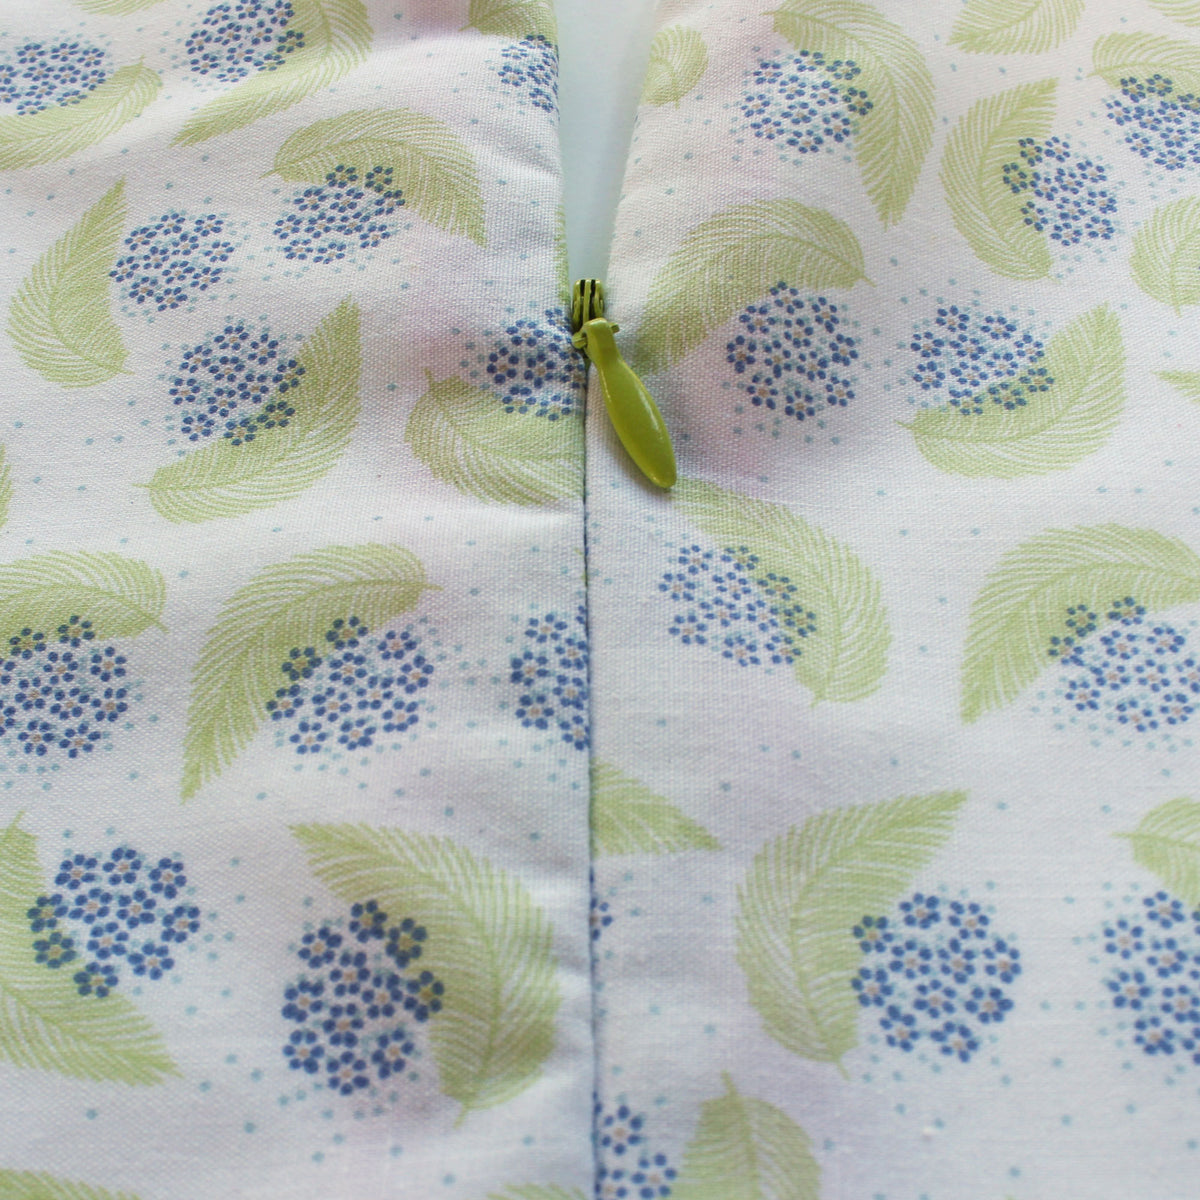
How to sew a centered zipper
A centered zipper is one of the most usefull zippers to be able to sew. They are commonly used in skirts, dresses, and pants, as well as cushion covers and handbags. In this tutorial, we'll show you how to sew a centered zipper using directional sewing, which avoids the fabric from shifting in different directions once the zipper is sewn in.


